My thermostat, with root access

HestiaPi looks awesome. An open software and open hardware project, Raspberry Pi based, customizable LCD touch screen, it is all you can ask as a basis for your home IoT infrastructure.

It took some time to arrive though. I ordered it via Crowd Supply, a great site with wonderful open hardware gadgets and solid ethic principles. I made my order in mid October, but due to some problems I was not going to get it until March. Luckily, I didn’t have any problem cancelling my order and I could ask it directly from Greece to Spain. Why crossing the Atlantic ocean there and back again when it had just to cross the Mediterranean sea?

Adapting it to my heater was a bit challenging. My heater offers 2 wires, while HestiaPi expects only one. It just sends the power line back to the heater.

There is a hack to remove the power transform and use a 5V USB charger to decouple the line from the heater and the power line from the raspberry.

Another option I was considering was to cutting the track that connects the power line with the heater. But I didn’t want to damage my brand new thermostat!
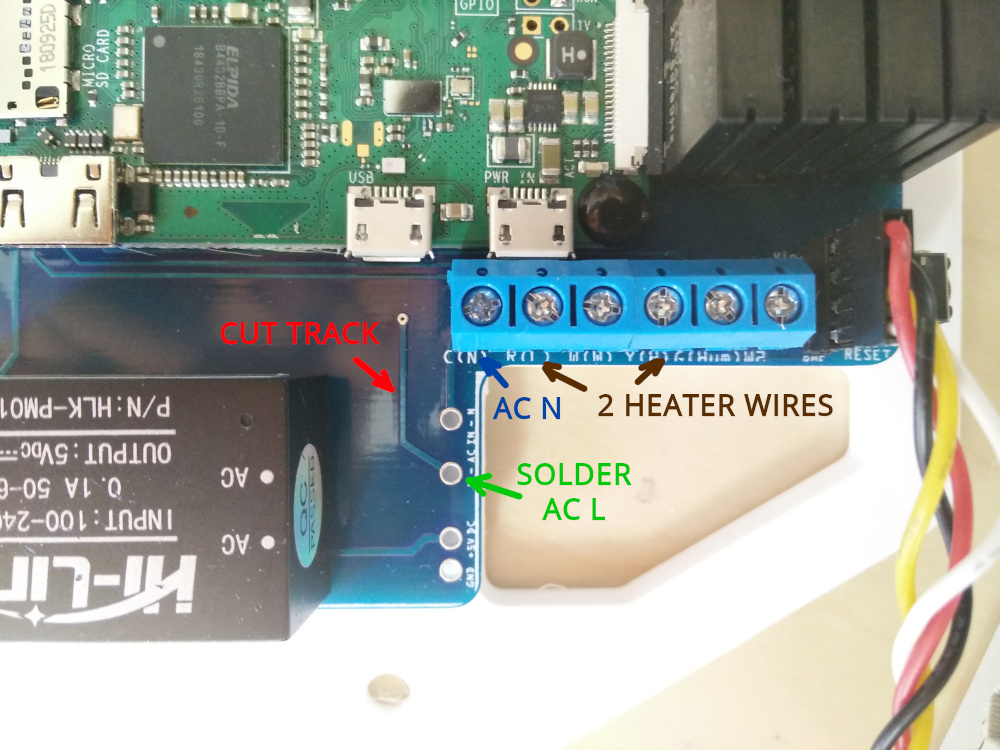
Decouple power line from heater line in HestiaPi

Finally, I ended up disassembling the heater. I found out it has just a fuse before the line sent to the thermostat.
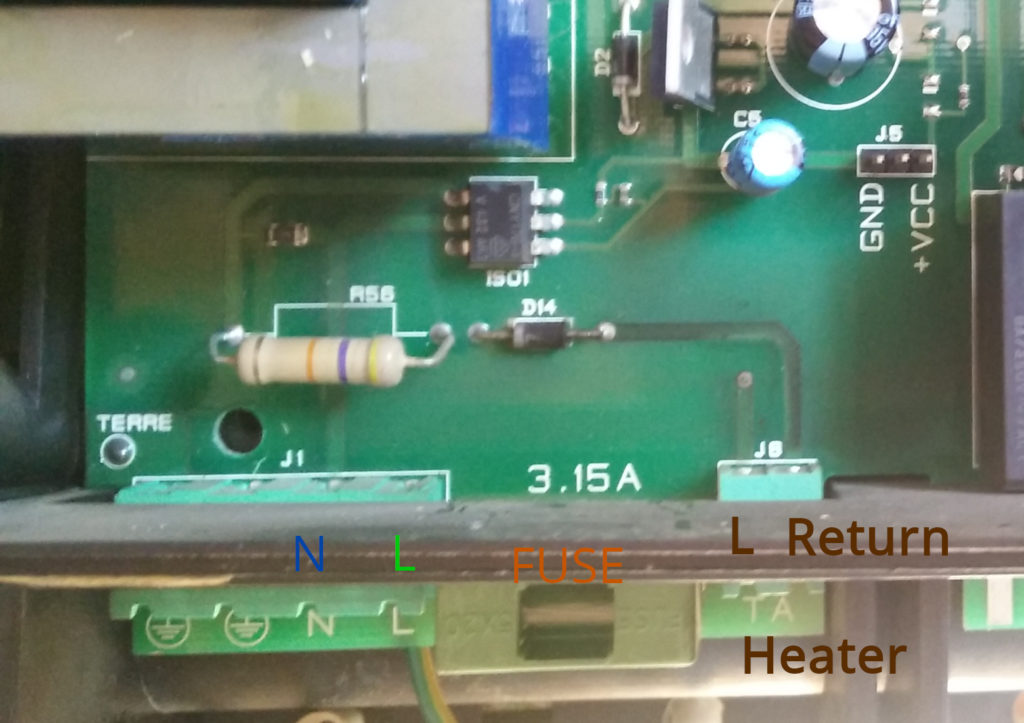
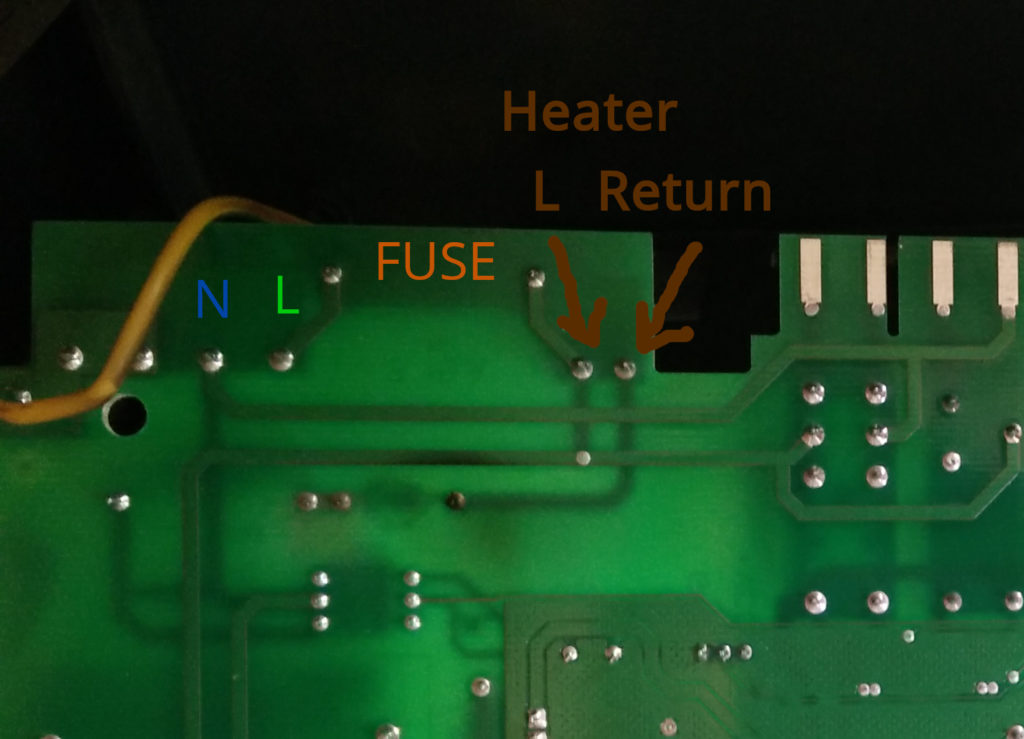
Connections in front of the heater board
Connections in back of the heater board

In fact, in the installation manual there is a option to connect a thermostat with an anticipatory resistor that matched my idea. I finally went for this last option, so I didn’t have to break the HestiaPi and soldering the power line.
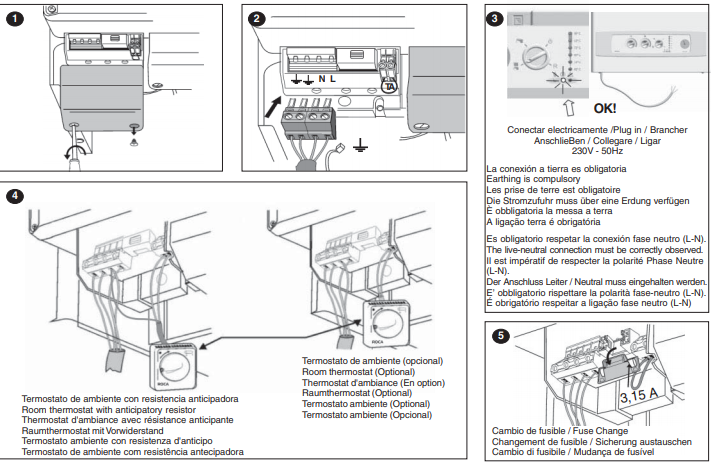
I am very happy with the result. It works great!
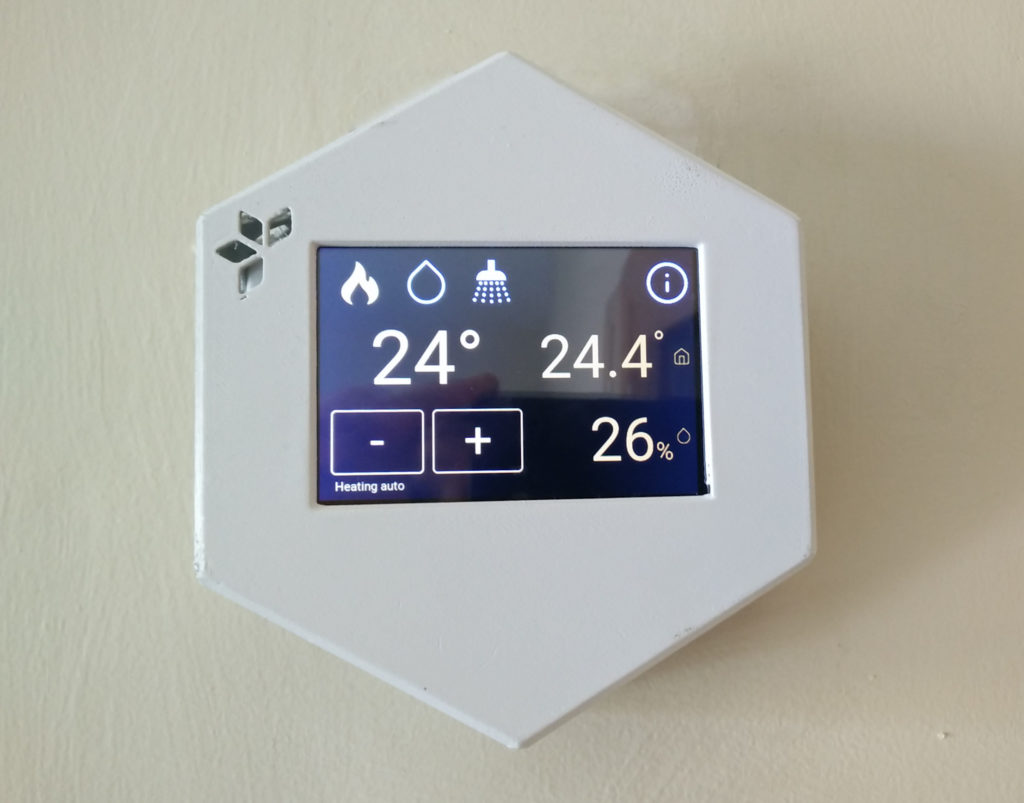
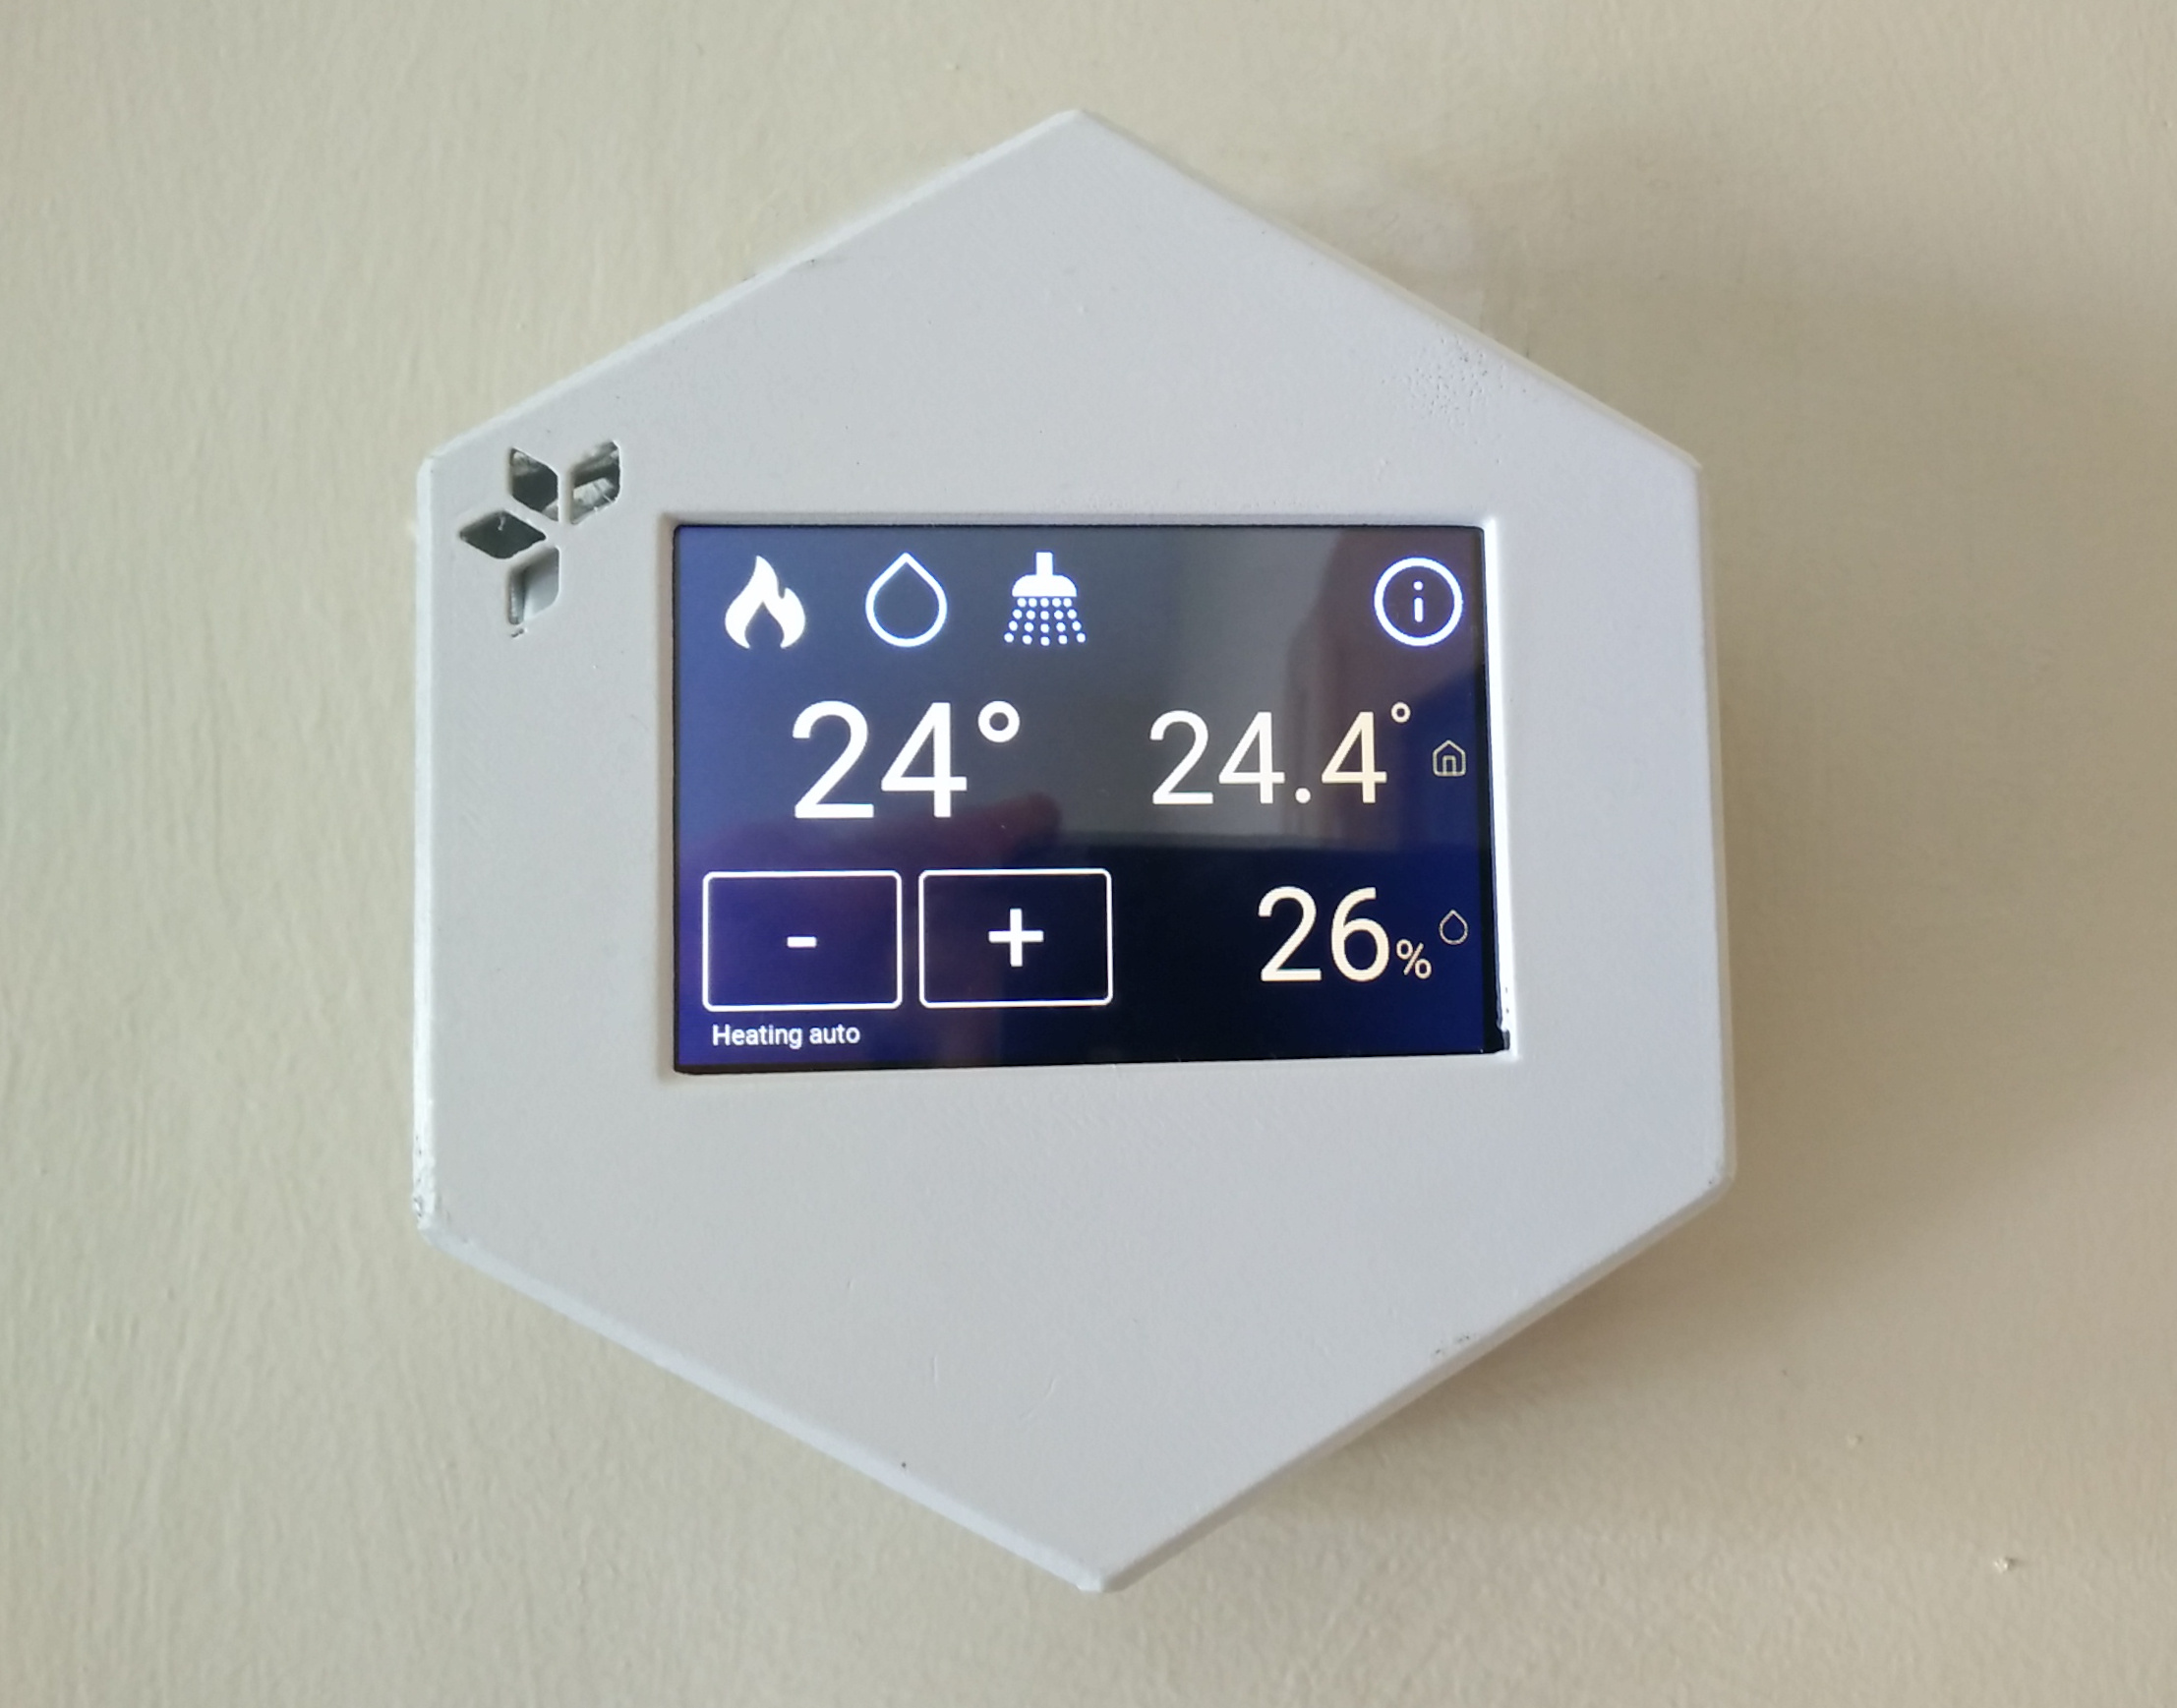
HestiaPi installed and working

But I am more excited with what will come next. I am overwhelmed by the possibilities. Besides the capabilities of OpenHAB, the touch screen is built in HTML and Javascript, so I will totally customize it to meet my needs!

I am already integrating another open software hardware, the ANAVI Thermometer.

And integrating the roller shutters into the thermostat will come next!
Teaching the computer to talk

One of the first cool things you want to do with your kitchen computer is teaching it to talk. The visits come and you ask it to play music or open the roller shutters. Cool!

But current solutions come with a cost. Some people don’t care if their conversations are sent to servers at the other part of the world.

I want it full privacy preserving. Of course we have nothing to hide, but privacy is not about having nothing to hide

So this has to be full free and open source software.

There are some alternatives for FOSS voice assistants. I went for Mycroft, as it is well integrated with openHAB. It is a great working solution, backing FOSS up. They have recently even open sourced their server backend.

Setting Mycroft

Mycroft core repository is very well documented. It has a getting started script that does all the stuff for you: installing required Debian packages, setting the Python virtual environment… it even git-pulls to get the last commits from the repository. In a few minutes you have a Mycroft instance up and running without further problems.

There is still tweaks needed for two things: running without using the Mycroft home and using your own speech2text service.

Running without Mycroft Home

Mycroft Home seems to be a nice service, but I don’t need all the goodies they offer. I just want a local configuration without any data sent to a remote server.

There are some options to setup your own backend, including Mycroft’s own backend or a simpler personal backend.

But you can even use Mycroft without home. Just blacklisting some skills (mycroft-pairing.mycroftai, mycroft-configuration.mycroftai), it prevents Mycroft for connecting to the home. Setting these options in the configuration file is just enough.

DeepSpeech: Run your own speech2text service

Mycroft is a great tool for listening to the microphone, waiting for the wake word and running a big set of skills: from saying hello to reading a Wikipedia entry. However, it still needs a speech2text service that recognizes your words.

There are a few options for speech2text, including, of course, using Google STT. But we exactly want an alternative to it.

Fortunately, people at Mycroft are collaborating with DeepSpeech, a nice project from the Mozilla Foundation based on Tensorflow. At Common Voice they are gathering the required data for training the model, and it is surprisingly easy how you can start contributing from minute one.

Setting DeepSpeech in Mycroft is quite straight forward using the DeepSpeech Server python package. You can easily set its own python environment, writing a configuration file and it will start listening to Mycroft’s wave audios in a local port.

Finally, you just configure Mycroft to use DeepSpeech

And here you are! Your full open source local server voice assistant working in your kitchen!

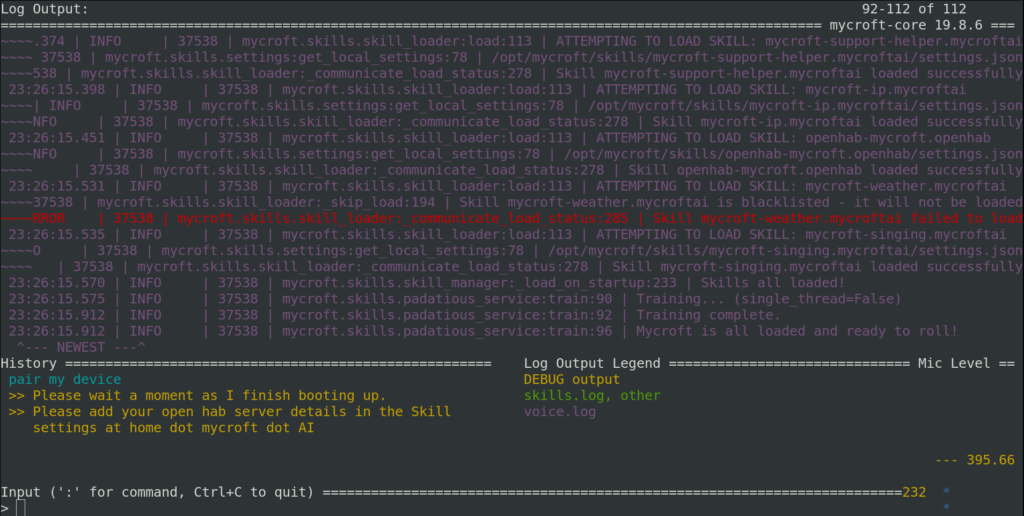
Mycroft core running in debug mode

Next steps

In Spanish, please. Our mother tongue is Spanish, so we expect using home automation in that language. While there is a overwhelming set of resources in English, including DeepSpeech models, Spanish resources are not that ready to go. There are however posts about using transfer learning or even a published DeepSpeech Spanish model, so training our own model shouldn’t be very hard.

Changing the wake word. Hey Mycroft is not bad, but it would be awesome if you could use your own name. Mycroft people make it very easy, their Mycroft Precise repository provides us with a ready-to-train recurrent neural network and a pretty straightforward training your own wake word howto

Screensaver dashboard. Our touch screen speakers disconnect when the screen switches to sleep mode. This prevents us from listening to Mycroft responses. Besides, there is lag from when you touch the screen and it wakes up. I am fixing this writing a simple Gnome Extension that impedes the screen going to sleep at certain times or in certain conditions. It also will show the time, the weather, and icons with some shortcuts to most used programs.

More coming soon!

More than a huge tablet in the kitchen

One of the first ideas I wanted to fulfill was having a huge tablet in the kitchen

I envisioned several usages:

  • Playing music while cooking
  • Managing the shopping list, synchronized with our mobile phones
  • Watching tv / netflix / youtube videos
  • Showing a clock / weather / other statuses when idle

I started looking for a huge tablet. Samsung Galaxy View was a very promising option. With its 18.4″ it made the grade. However, it seemed to be a little old, it was released some years ago, and Samsung Galaxy View 2 was not available yet. I was also looking in Ali Express but couldn’t find anything convincing.

So I changed my mind and considered another option: PC + touch screen

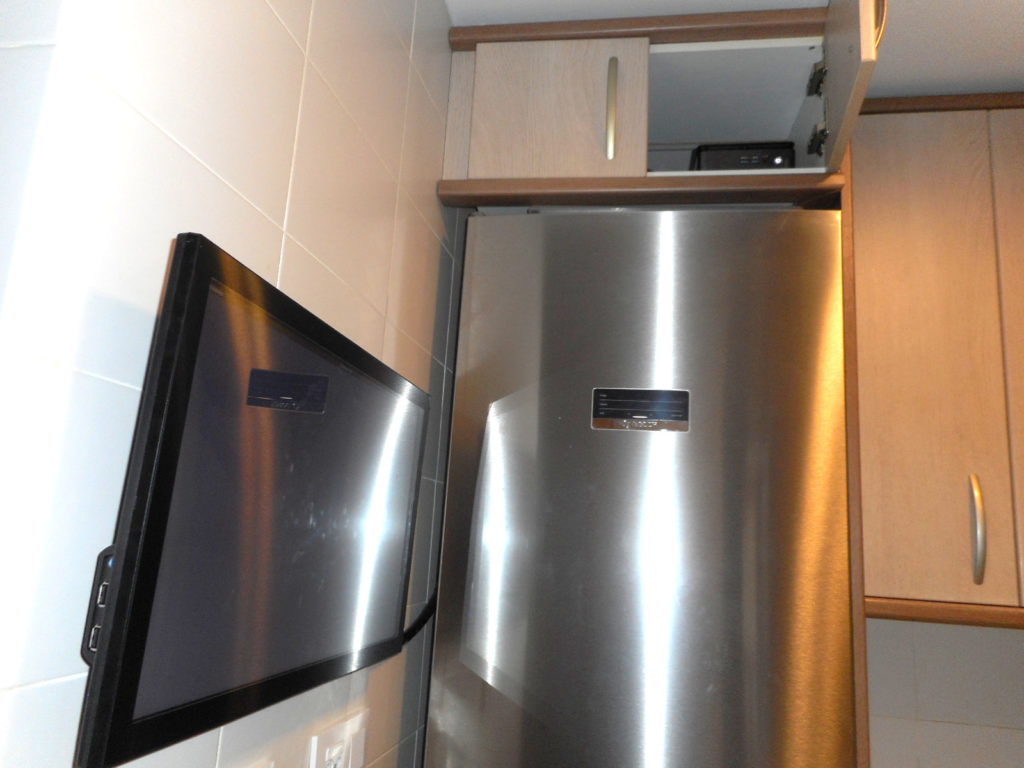
We have just resized a cupboard in the kitchen to make room for a highest fridge. So it was the perfect site for a PC, just close to the screen place. I knew I could remove the back side of the furniture to let the PC cool down. My only concern was about kitchen smoke and the ventilation of the fridge.

The advantage this option that I could use my beloved Debian instead of an Android distribution and make the “tablet” a full customizable server. It enabled some other possibilities and usages, like installing openHAB or any other voice controlled automation software

I investigated GNOME support for touch screens and it seemed to be pretty decent, with multitouch gestures support and touch keyboard

So then, the challenge was to find a touch screen that worked with Debian.

As expected, touch screen vendors don’t officially support Linux, but a very few exceptions. There was a promising Acer T232HL but there was reported to have a buggy Via USB 3.0 hub that prevented for working well in Linux and needed and extra USB hub to fix it.

The people at Tech Global have a video demonstrating Ubuntu working with one of their monitors. I wrote them to ask for an estimation of the cost. They were very kind, but the price was out of my scope.

Finally, I found Planar monitors were working well in Linux and even they claim to support Linux in their web. I chose this Planar Helium PCT2485 of 24″. Bigger than the Samsung Galaxy View tablet!

Besides, I bough this MSI Cube 3 Silent as PC box. Without fans, it was to be as silent as a all day turned on computer has to be. But still, more powerful than a Raspsberry Pi. With enough storage to make small experiments, like training a speech to text model.

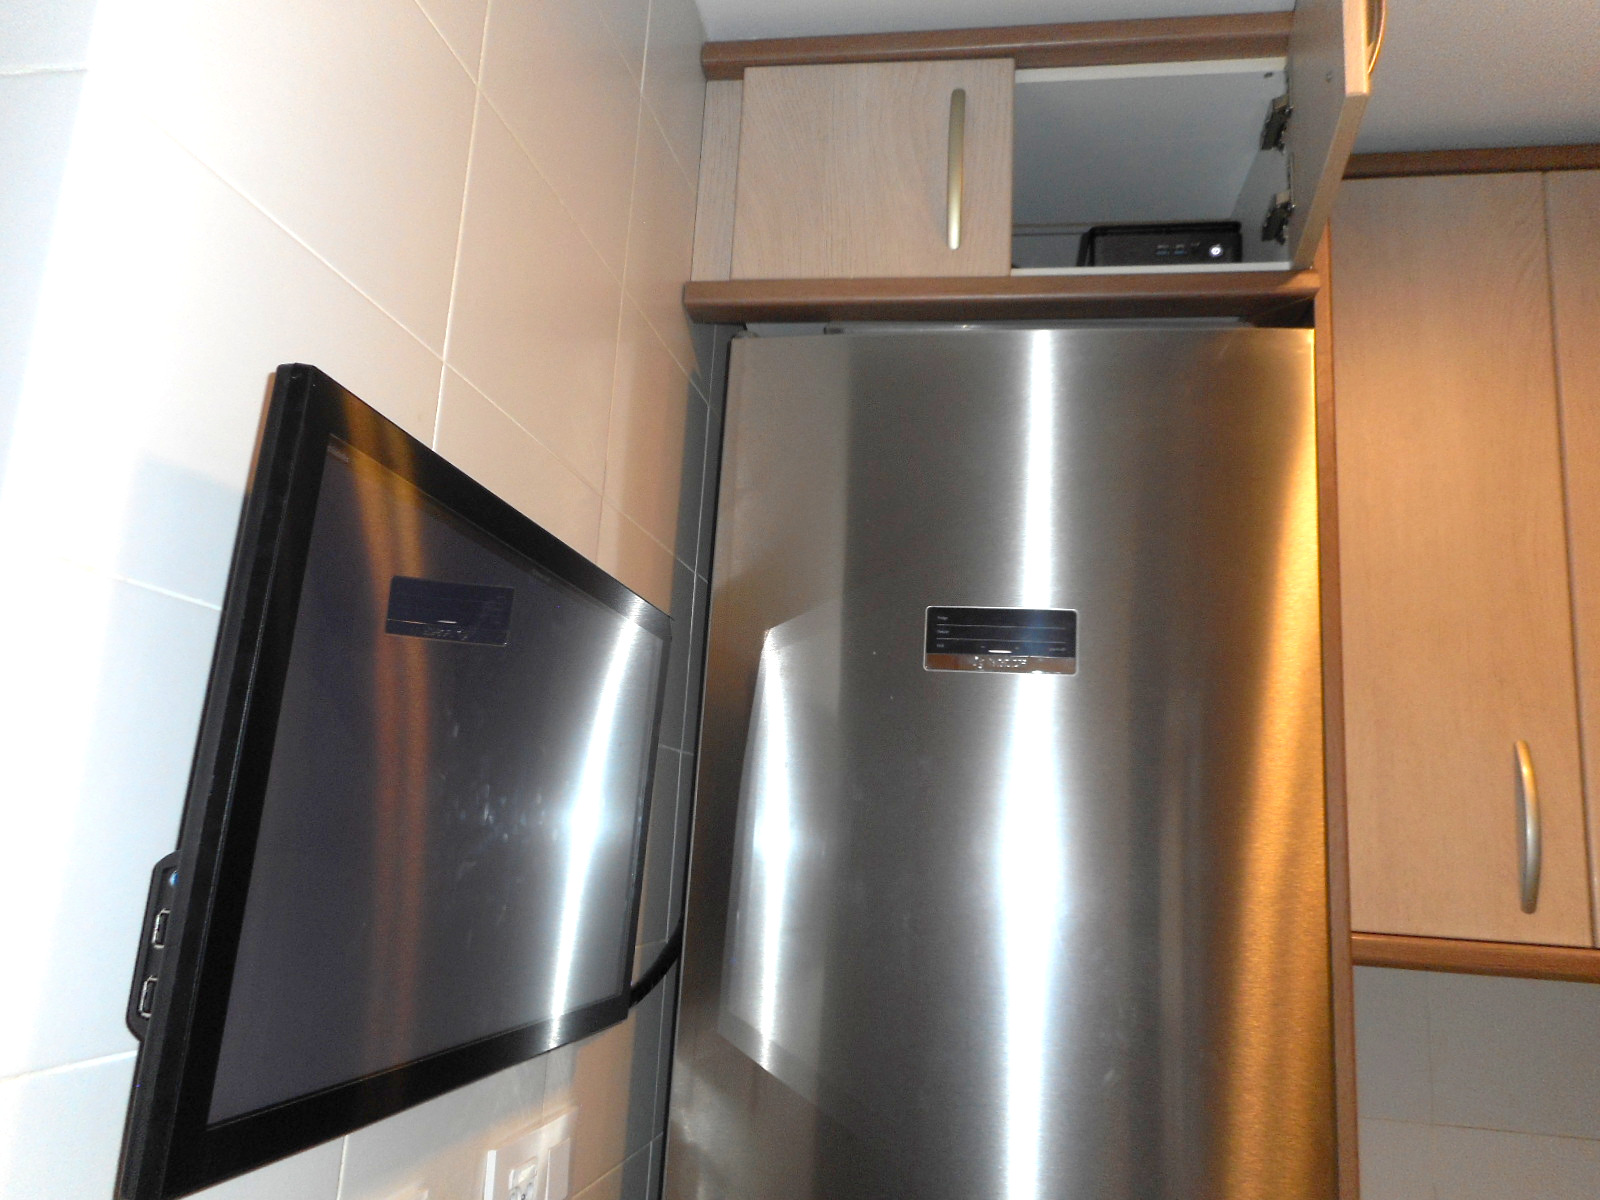
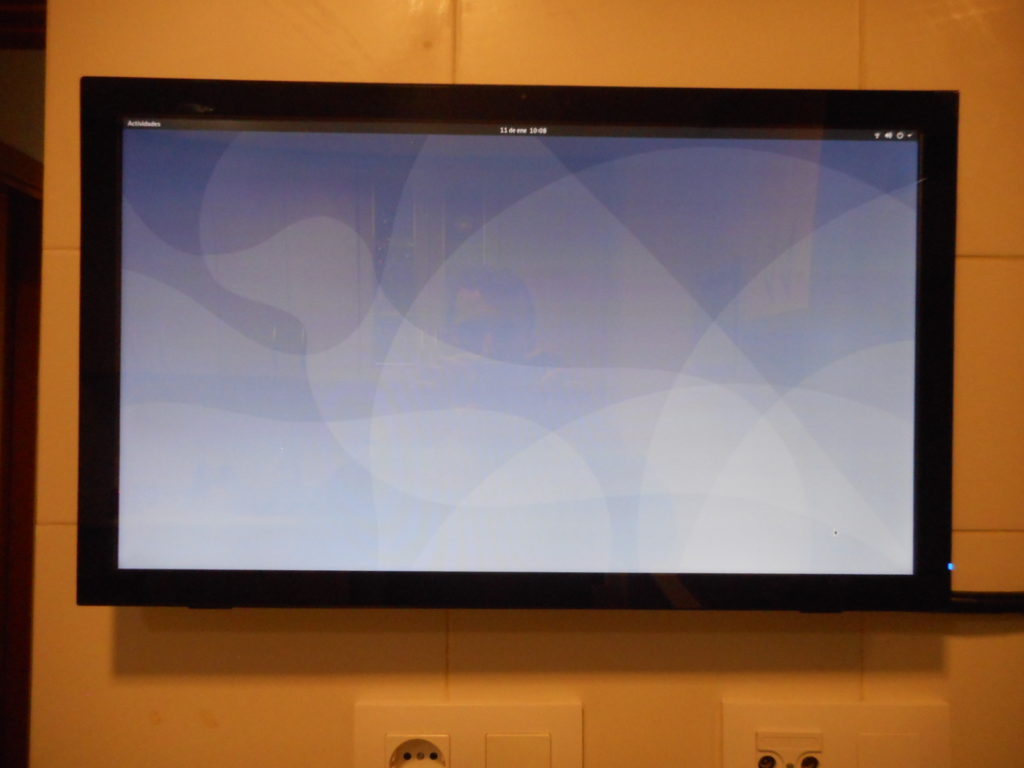
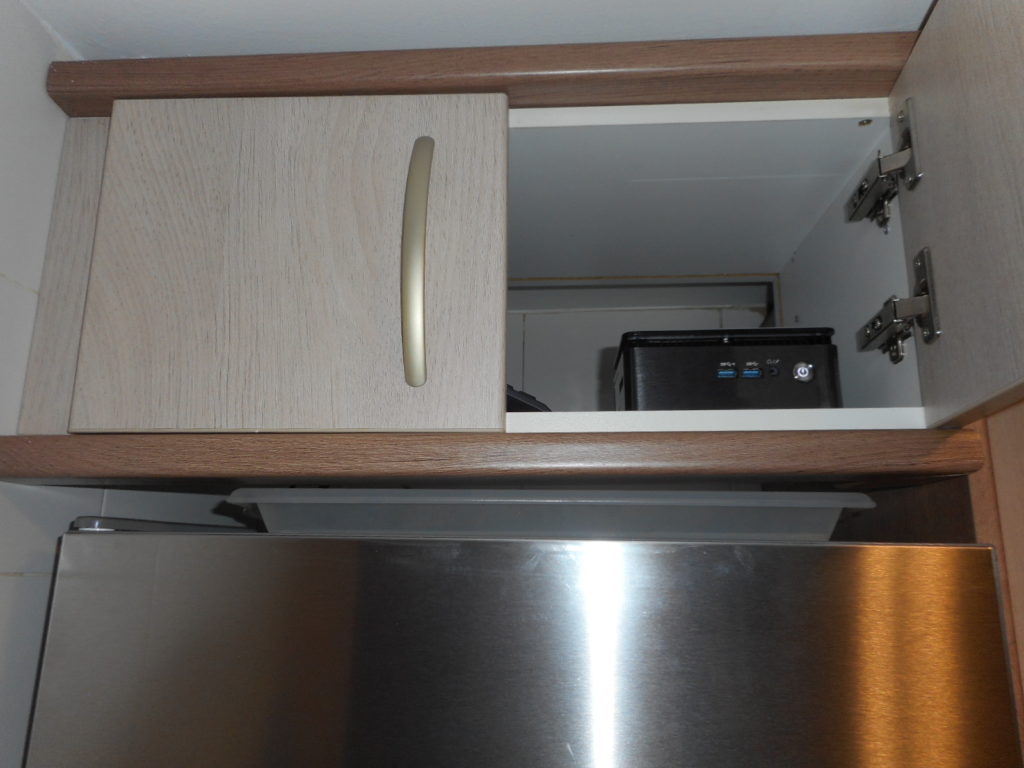
These are some pictures of the final setup:

GNOME working on touch screen!
A cupboard can be a nice place for a server
The Planar touch screen besides the PC on top of the fridge

After 2 months of usage, I have to say I am very happy with the result. We are using it a lot for playing music, managing our shopping notes. GNOME does a good job with the touch screen. And I have already implemented some features using openHAB. More coming!

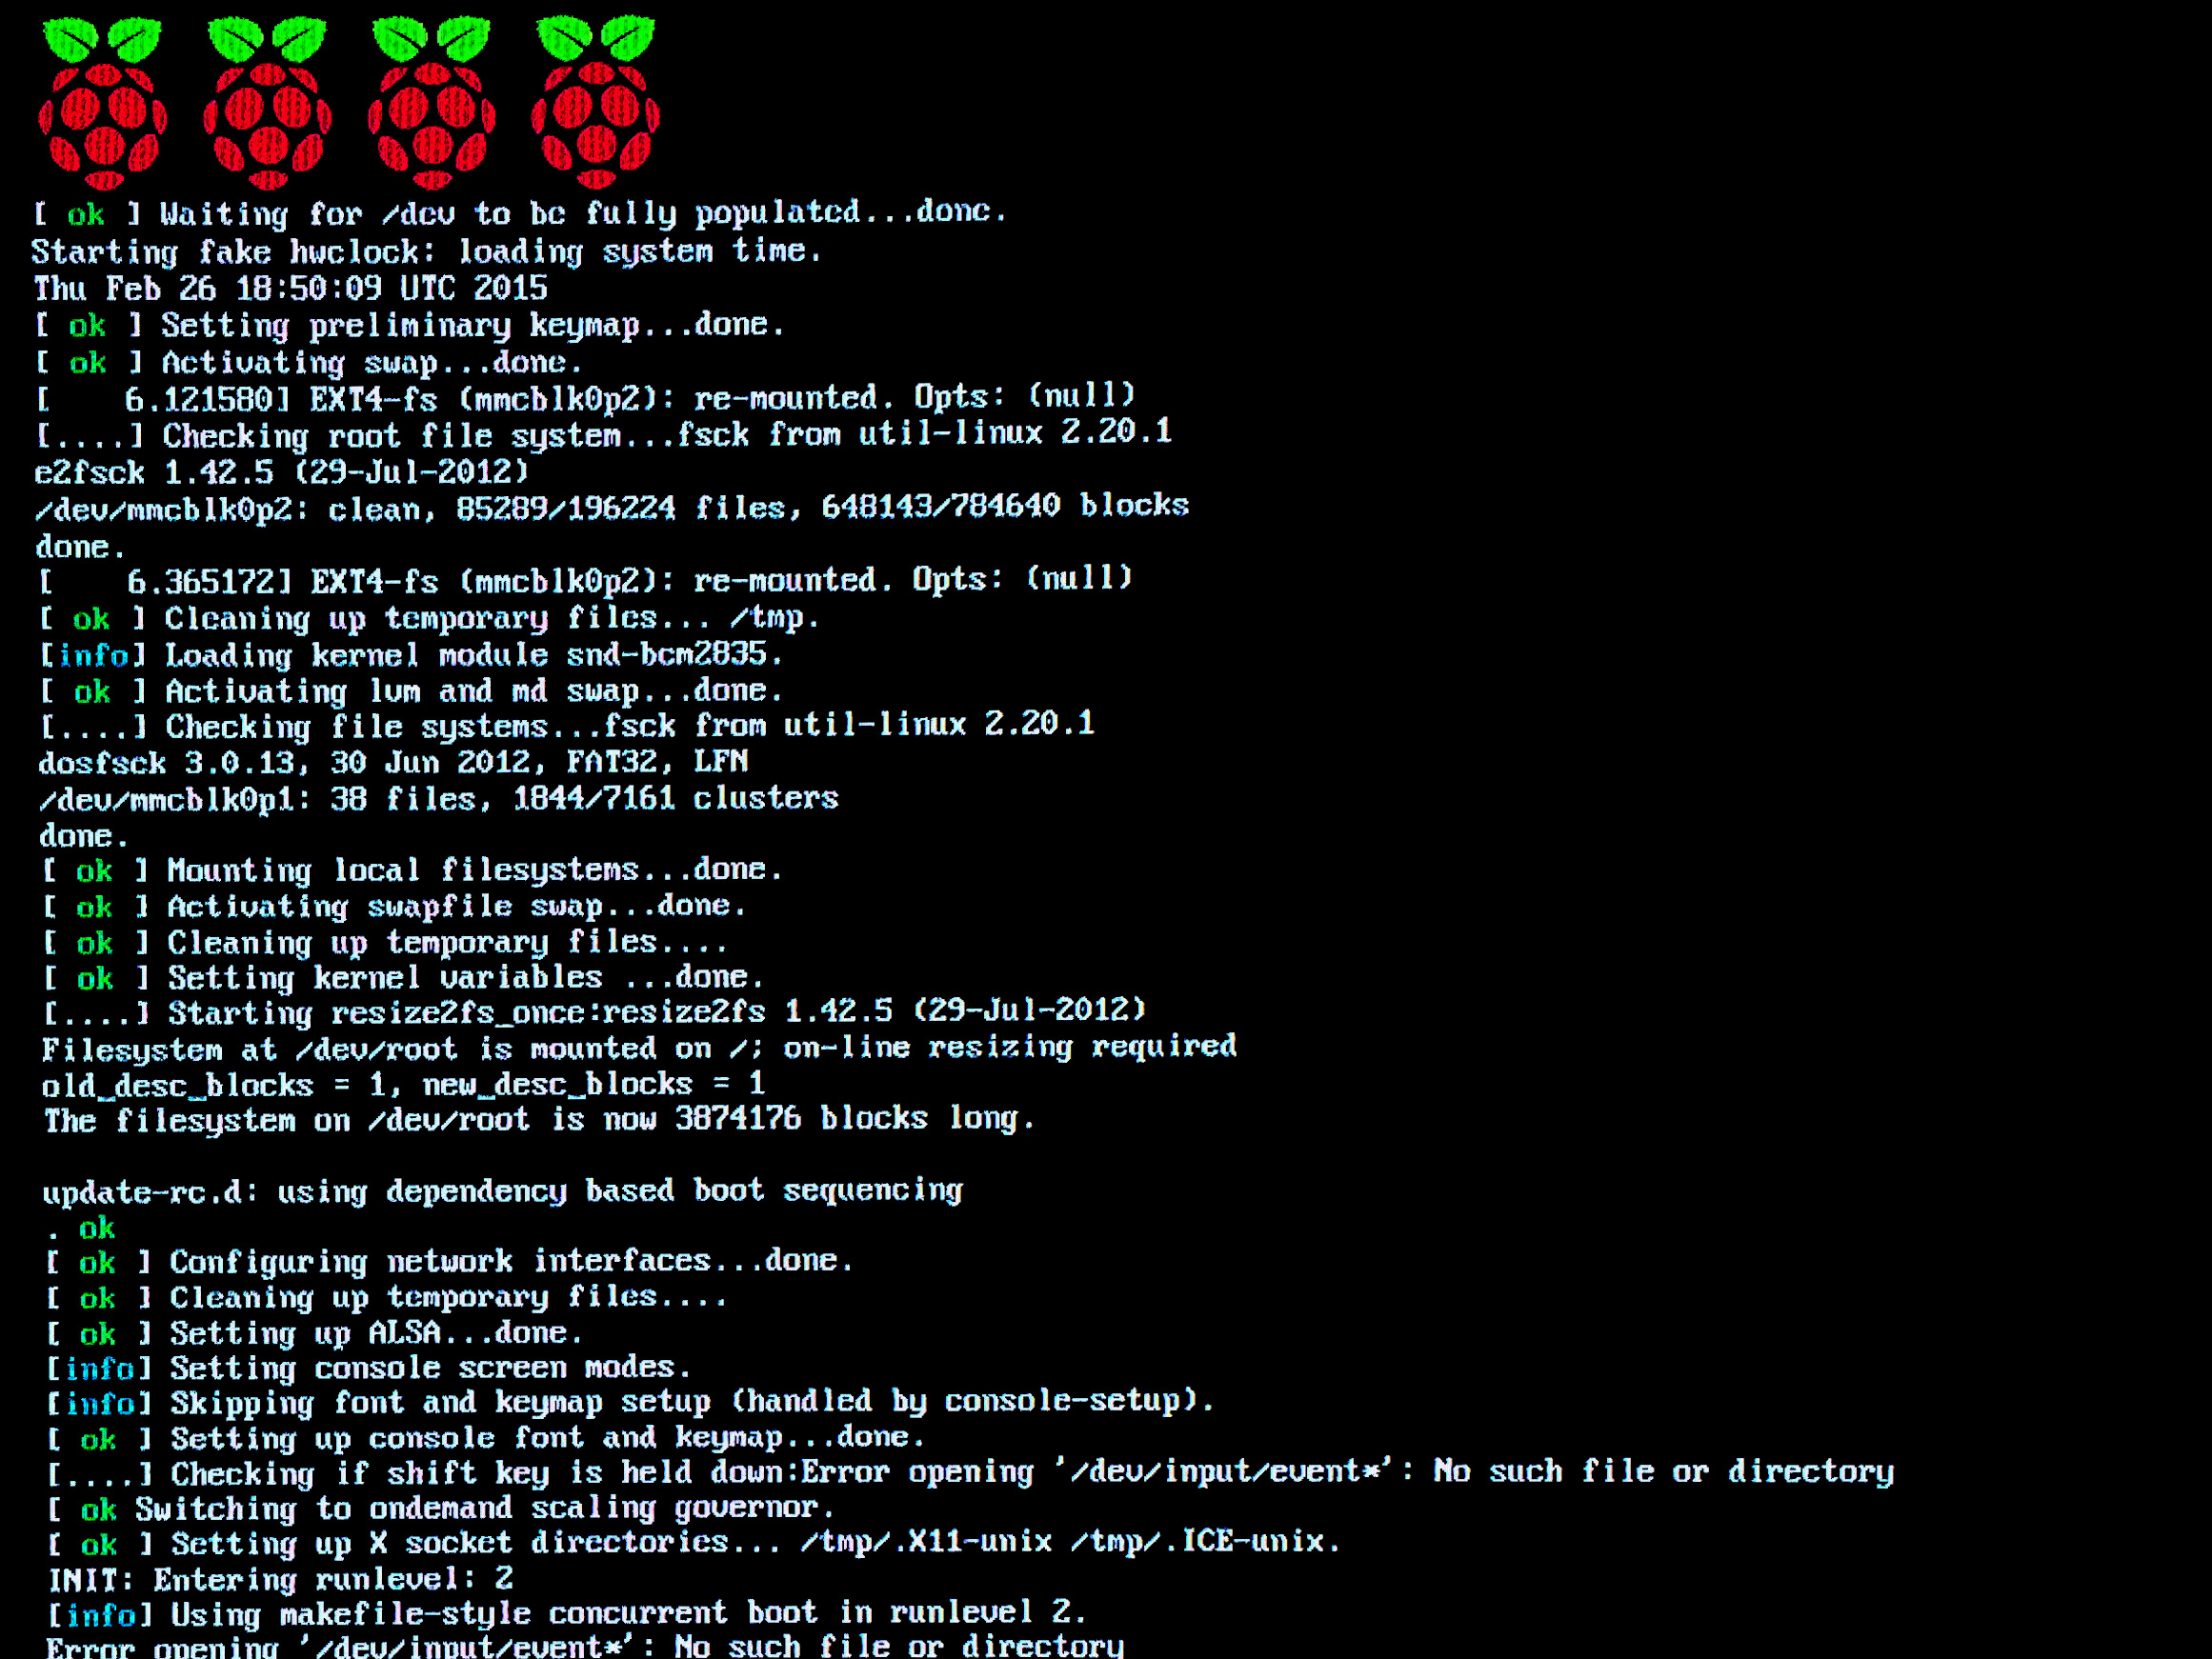
Booting…

This is the first post of a series on home automation and Internet of Things (IoT)

IoT is a topic that never caught by attention. I have seen a lot of hype about how it would become the next great thing. But I never saw it exploding, not in the same way Internet or the Web did.

However, after I became a house owner, I started to envision the possibilities of playing with my own house. I didn’t have the limits of renting anymore. I could do whatever I want, like cutting a cupboard in a half to make room for a higher fridge… and place a computer inside it.

Besides, I discovered an entire new world of devices at very affordable prices with a blooming open community. My head explodes when I think in all the possibilities and new cool things. Despite the time constraints of a full time job and raising a child.

In this series I will write my last advances on home automation. I will try to use open hardware and free open source software while I can.

I started buying our open source thermostat. Because if you don’t have root access to your thermostat, someone else does

I do have root access to my thermostat