Open Bedroom Thermometer: Light detection and screen fade

One of my main concerns about placing a new display in the bedroom was light contamination. The same rule applies both to clean interfaces and when going to sleep: no distractions. Luckily, handling the screen brightness of my ANAVI Thermometer was easier and more straightforward than I imagined

The first step was getting a light detector, so we can discern when the room goes dark. I just noticed the BH1750 light sensor is recommended in ANAVI’s web. And, as I mentioned about my surprise on the availability of cheap components, I could find it easily and very cheap.

BH1750 light sensor

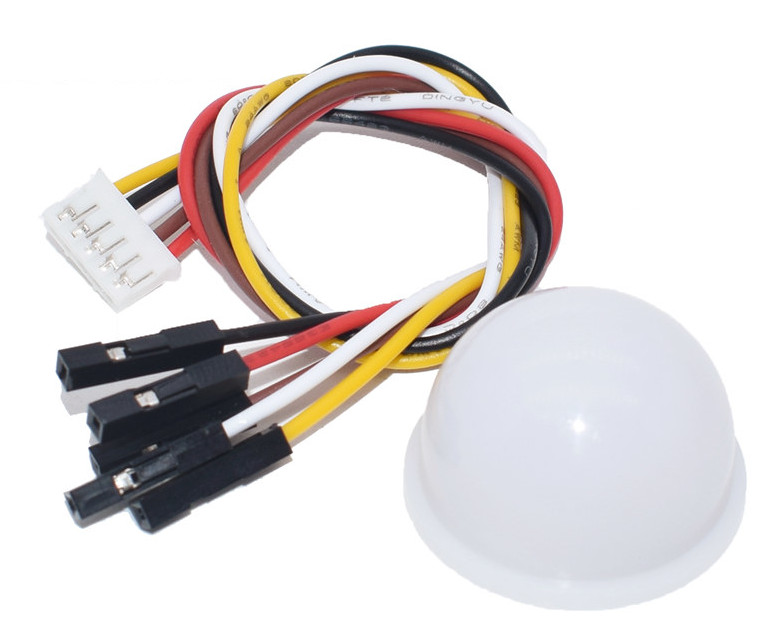
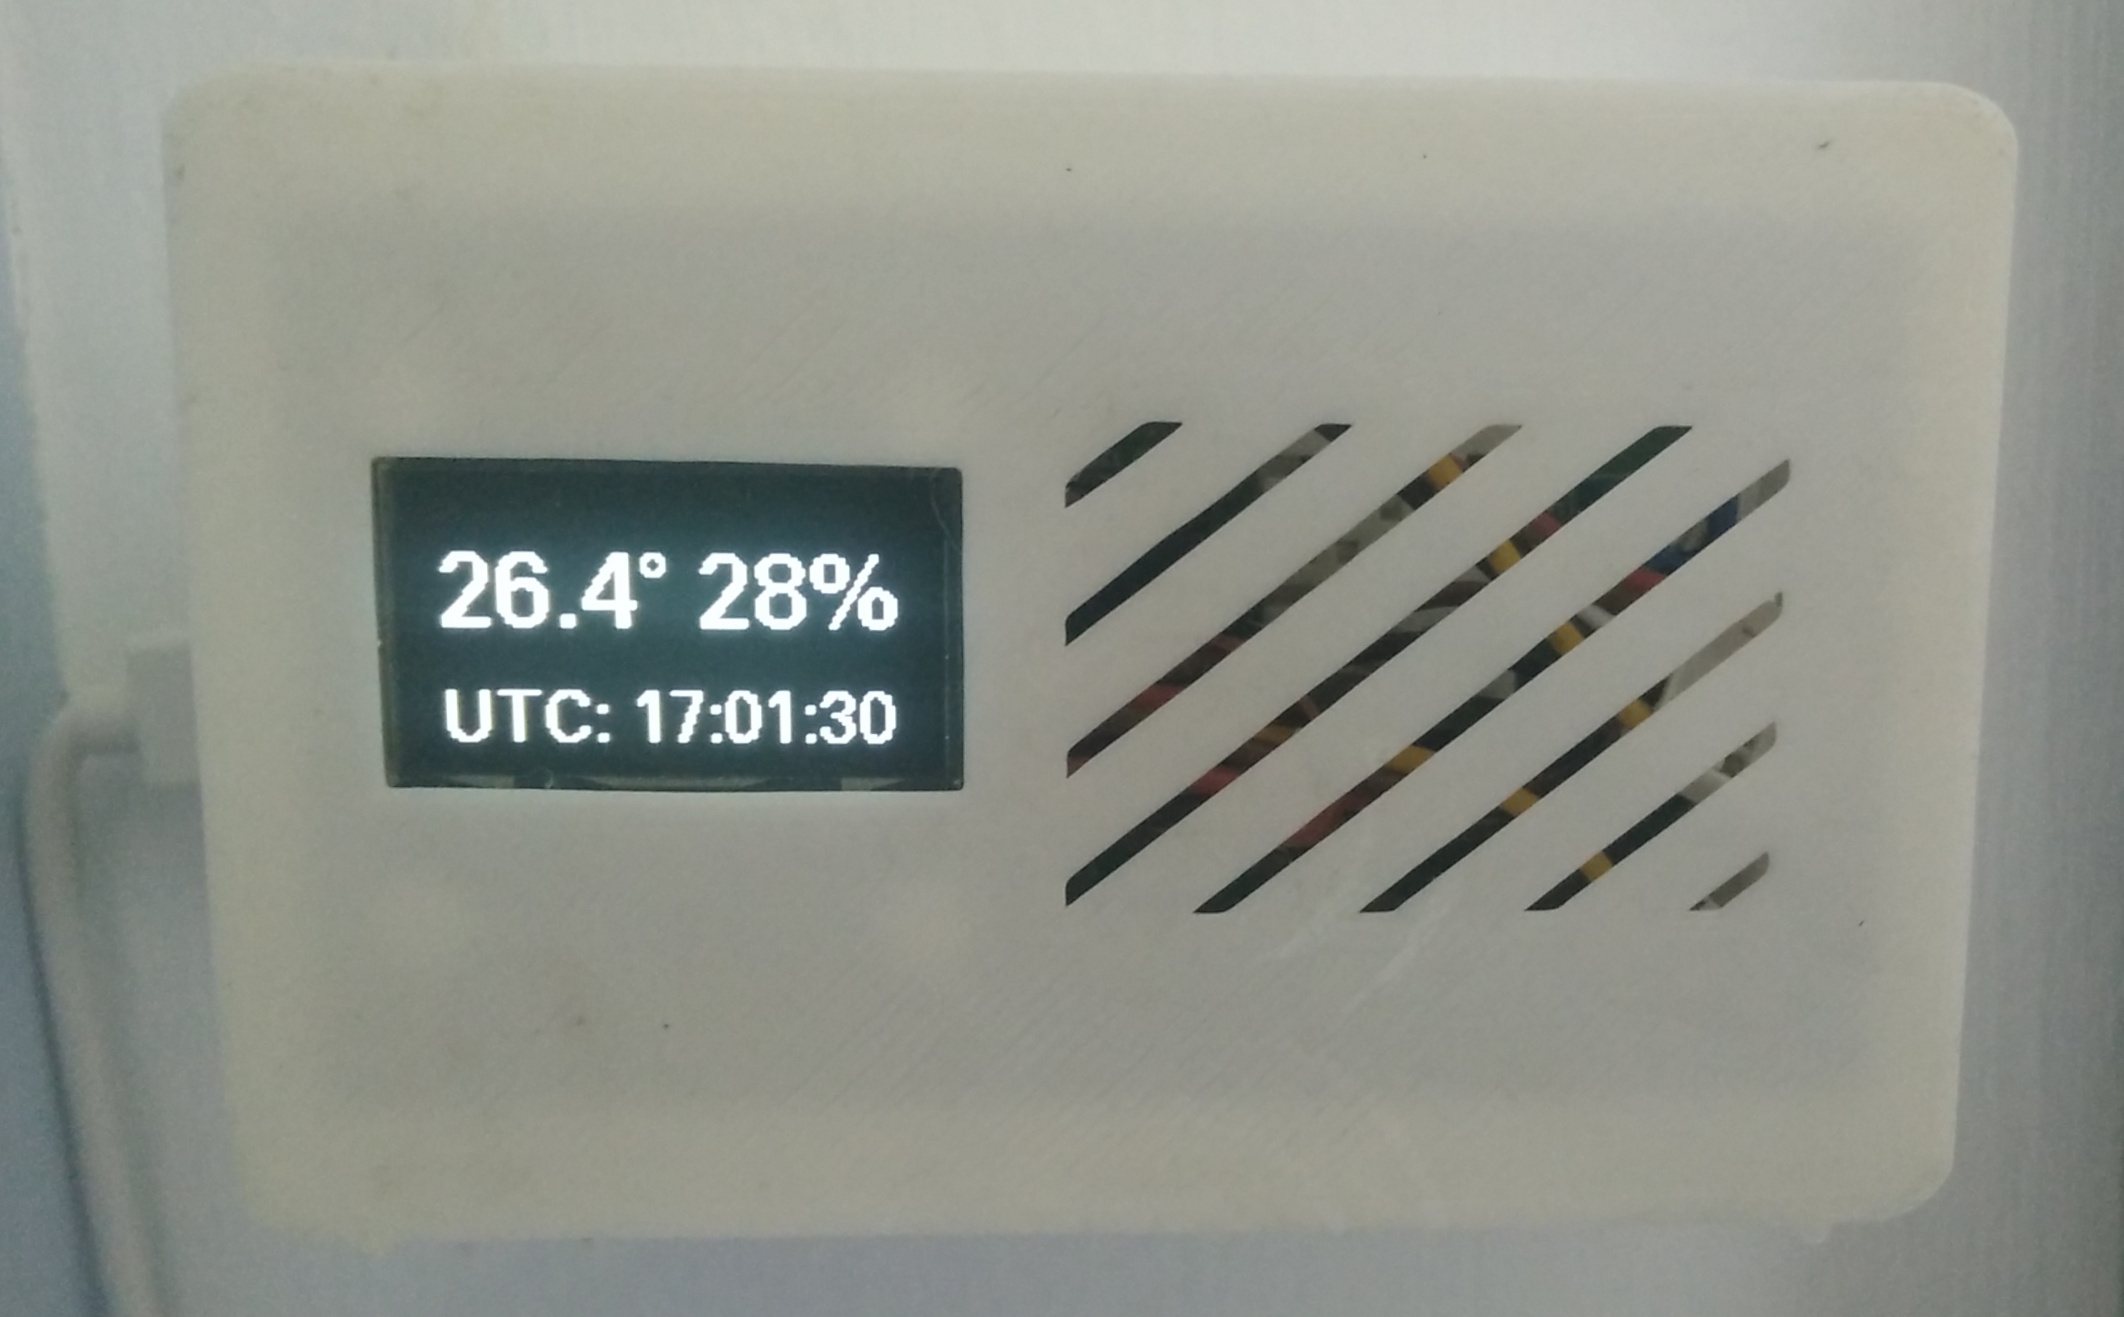
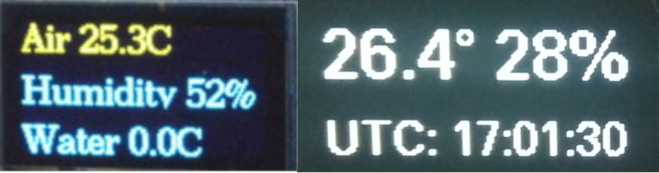
Plugging it into my ANAVI Thermometer couldn’t be more straightforward. Leon’s firmware is prepared to detect it and include the readings both in the OLED display and in its own MQTT topic.

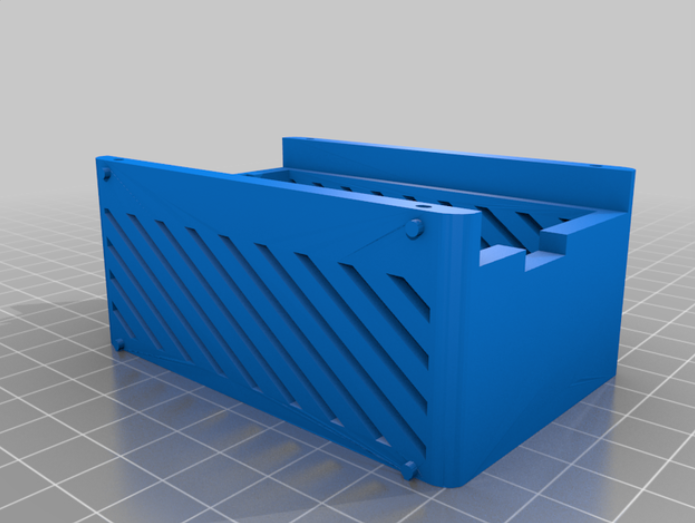
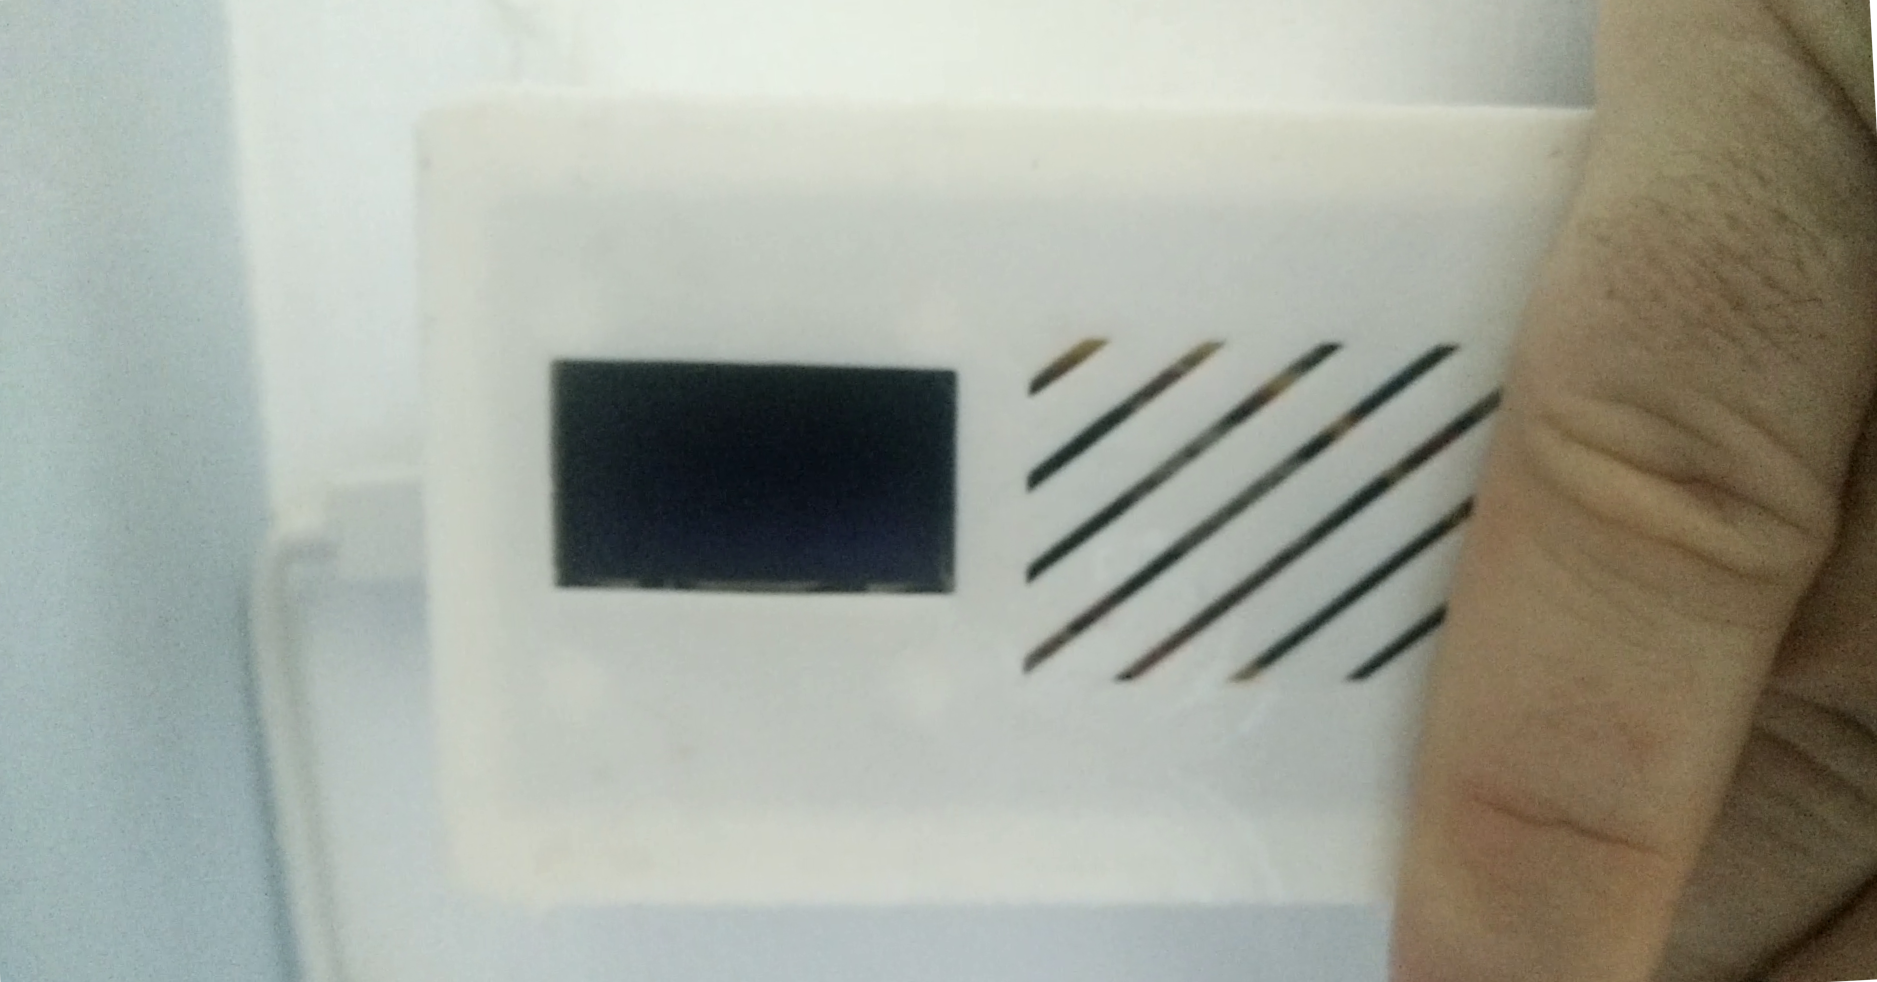
Adding it to the thermometer case was surprisingly easy as well. The case I 3D printed already had a slot in one side that I could file down a bit. The light detector bulb just made a perfect fit!

And finally, there was the job of adapting ANAVI Thermometer’s firmware to program the display fade according to the light detected in the room. Arduino’s libraries like U8g2 already come with a setContrast API call to reduce the screen light. But it is not enough. Luckily, there is a thread on Arduino’s forum on how you can also play with the OLED display precharge registry to reduce the brightness even more. I had to do some calibration work, trying several values with both the smaller and the right-size OLED displays. Behavior with different values might vary a lot, but I found a setup where I can do a decent fade out depending on the values measured by the light detector.

Finally, using the U8g2 setPowerSave call, I turn off the display when there is no light.

You can find all these changes to in my screen-fade branch of ANAVI’s Thermometer firmware.

And this way we get a quiet environment for sleeping!

ANAVI Thermometer’s screen fades with the room light

Open Bedroom Thermometer: Aesthetic Customization

I am pretty happy with my University education. I studied Telecommunications Engineering in Spain, which is a mix of Computer Science, Electrical Engineering and Telecommunication Systems. I think it gave me a solid base for a broad range of topics, from the signals inside a circuit to software engineering principles.

However, something I have missed is some basic formation on UX and design. I think it would have helped me a lot in many of my projects. Along the years, I have valued the importance of these aspects in a project: you might have the most wonderful technical implementation of something but, I you can’t let your users understand it, you will fail.

Suitable case

The first part obvious for placing my ANAVI Thermometer in the bedroom is that it needed a case. Dust protection, protection from humans, aesthetics. ANAVI’s setup is quite convenient for development, but not as suitable for a product that is going the take part of the decoration of your bedroom.

Vented Box – Anavi Thermometer in Thingiverse

Luckily, one of the Crowdsupply field reports on ANAVI Thermometer included a printing model for a case. I hadn’t a 3D printer yet, so I ordered it to be printed using one of the apps plugged into Thingiverse, and I got a mail package with my case ready to be placed. Cool!

Matching display

A white on black OLED display was more suited for this set than the yellow and blue that came from Anavi Technology. However, when the new display arrived, I discovered it had different dimensions. It didn’t fit in the 3D printed case.

OLED display

I didn’t want to order a new copy of the case. So I did an endless search for a display with the same dimensions than ANAVI’s. It was hard to find one. Finally, I found this 0.96 inch display from AZDelivery that was a perfect fit

Display reshape

I apply UX and design principles in my work, not only in product development, but also in the interfaces or the user experience of a command tool. I think the hardest but more beautiful job is making the complexity simple. I praise Apple for this. Despite I would never buy one of their products, I can admit the value and experience they used to deliver in each of them.

There were obvious things to cut in the original display information. Leon has done a great job creating a software that works for a lot of purposes (as we will see in the next article on the light sensor). But I am not plugging a water temperature sensor, so the Air word is not needed. The temperature unit as well, we just use Celsius. And also Humidity word, the % sign is just enough

These cuts allows increasing the font size and placing the figures in one row. I also prefer a sans-serif font, which I chose from the amazing U8g2 library.

ANAVI’s default display vs customized display

I have published all the changes in display customization. You can find them in the display-reshape branch of my fork of ANAVI Thermometer firmware.