My main goal of setting an extra thermometer in the bedroom was to integrate it with my open thermostat, placed in the living room. My house is not big, but when we go to bed, we are not in the living room anymore. We want it to watch for the temperature in our bedroom.
Of course, I wanted to automatize this switch as well. Every night, when we go to sleep, the thermostat switches the tracking of the temperatures from the living room thermometer, to the bedroom thermometer. When we wake up, it switches back to the living room thermometer, the one in the thermostat.
One of the great things about using open hardware and software is that you can customize everything. I could change and adapt both the UI and the logic of the thermostat to incorporate the new temperature readings
UI integration
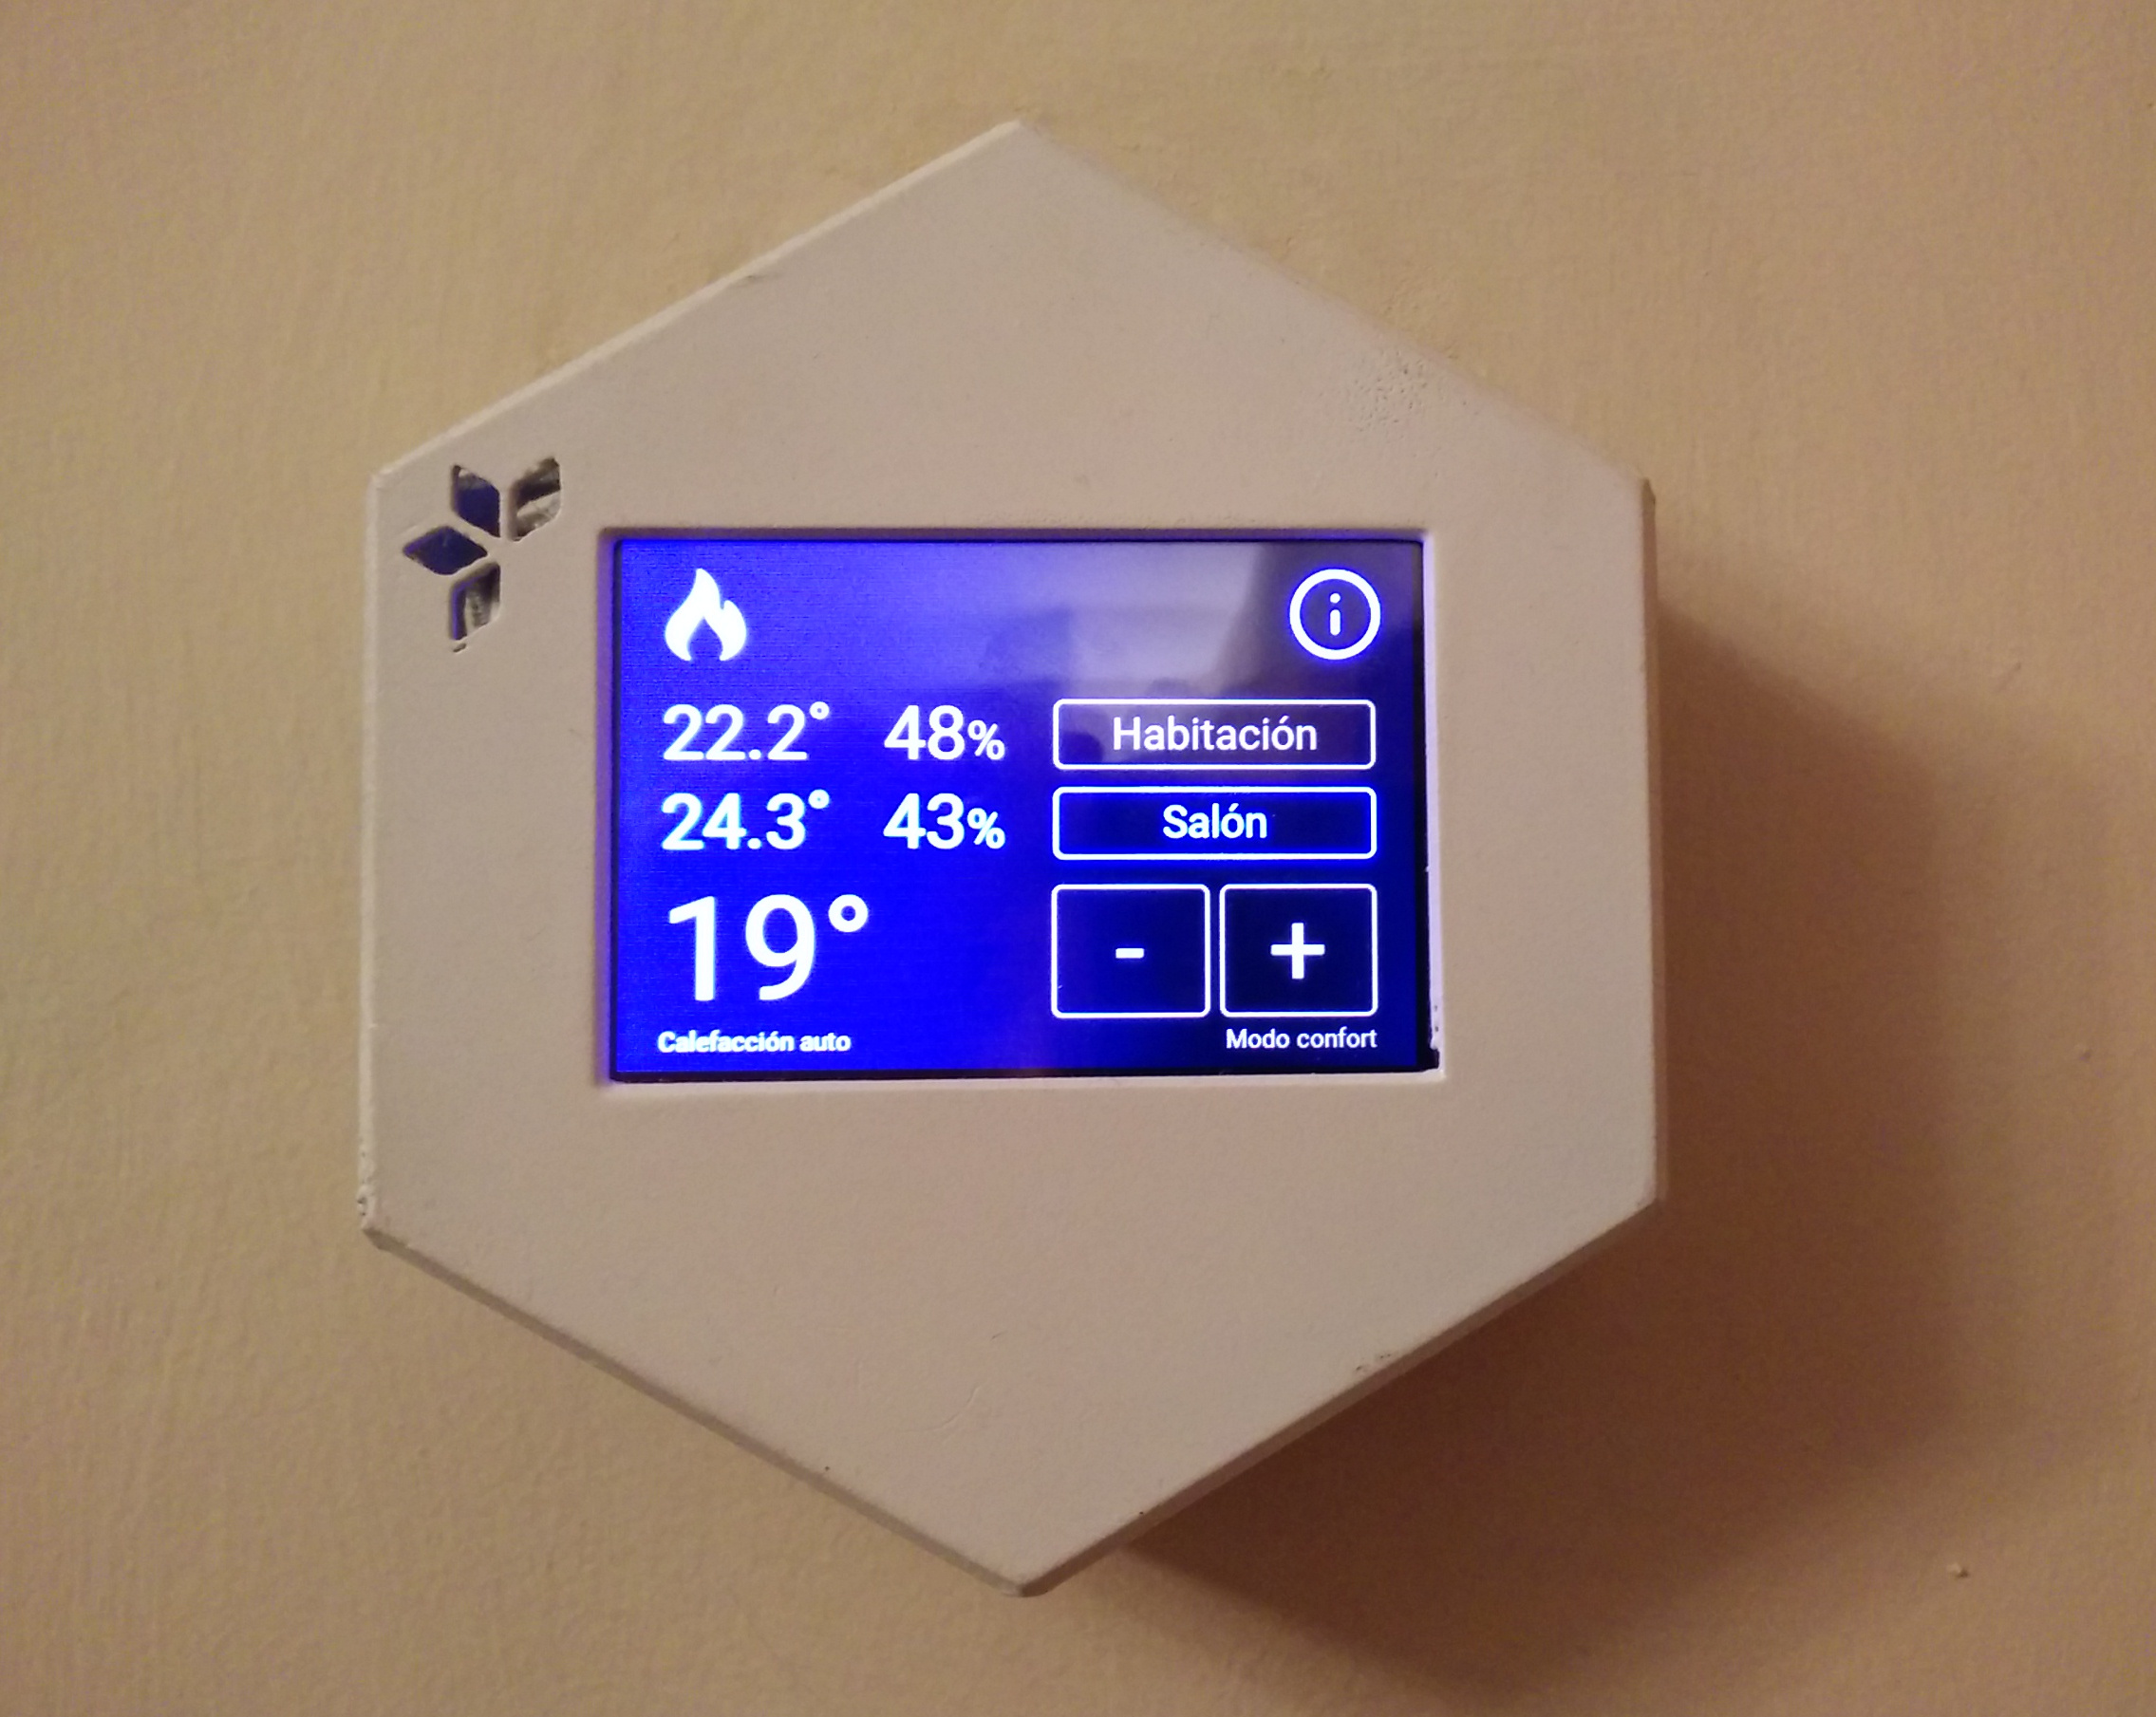
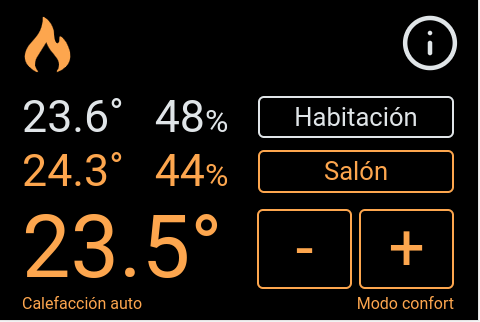
HestiaPi UI is just Javascript (Vue.js) and HTML, running on Kweb, a very light browser for Raspberry Pi. I redesigned the interface to accommodate the new figures. I also added the buttons to switch manually the thermometer that drives the thermostat behavior, from the thermostat sensor to the bedroom thermometer and back. HestiaPi UI communicates over MQTT, the same way than ANAVI Thermometer, so it was pretty straightforward to copy the same logic.
You can find the code in the anavi-thermometer branch of my fork of hestia-touch-one-ui.
Backend integration
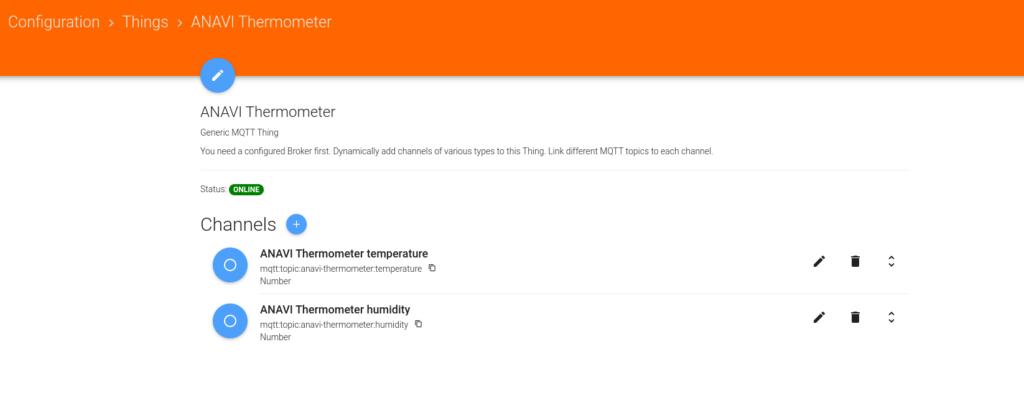
HestiaPi logic is built on top on OpenHAB. Despite OpenHAB is a bit heavy for running in a Raspberry Pi Zero, it provides HestiaPi with all the power of smart home capabilities.
Backend integration involves new OpenHAB things, channels, items and rules, so it deserves its own post: ANAVI Thermometer – HestiaPi integration
I feel grateful for having found these two great open projects and being able to play with them, learn many things and having a feeling of accomplishment after customizing my own setup!
This is the last post on these ANAVI Thermometer series, but not the last from Hestia Pi… More hacking to come!