This integration works with HestiaPi Touch ONE v1.2
These changes need the HestiaPi Touch UI to be updated with my anavi-thermometer branch.
Add-ons
ANAVI Thermometer publishes values in JSON. They are easy parsed in OpenHAB with the JSONPath transformation add-on. We will need to install it first
Things and items
ANAVI Thermometer
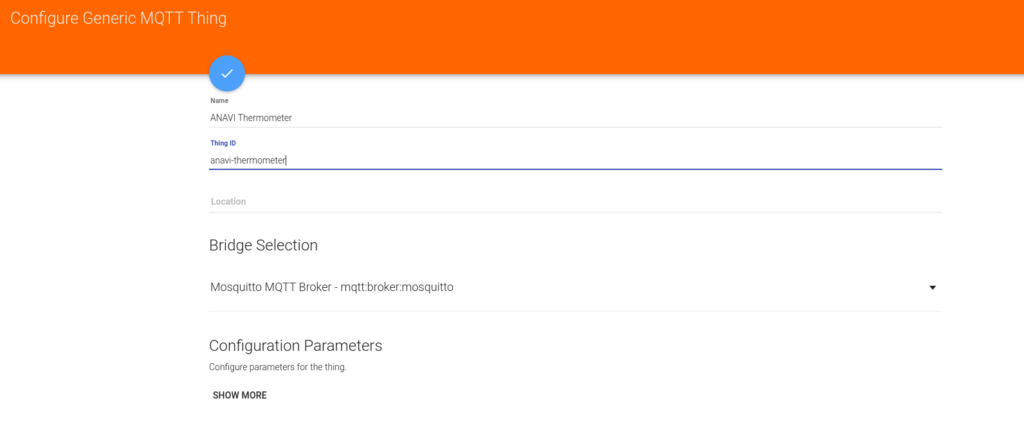
We create a separate Generic MQTT Thing for setting the channels related to ANAVI Thermometer values
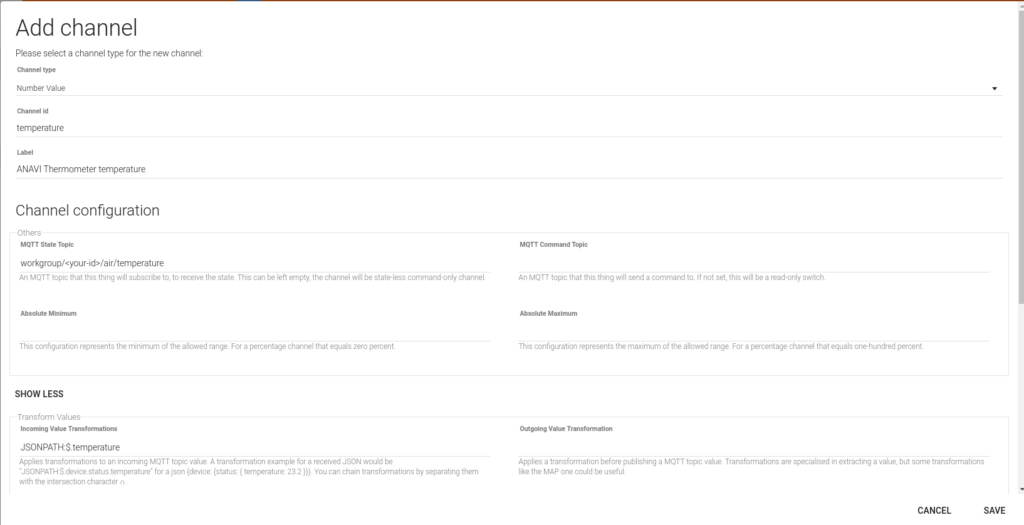
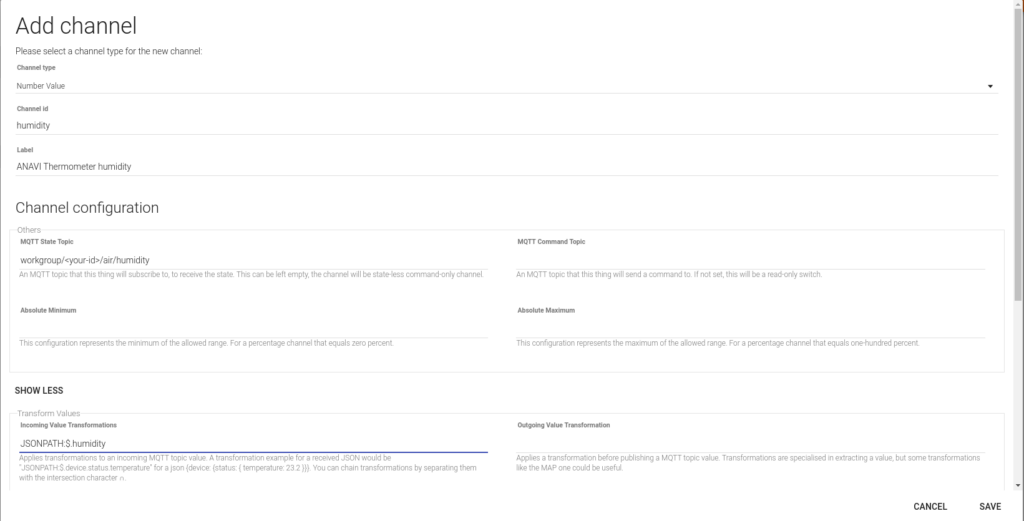
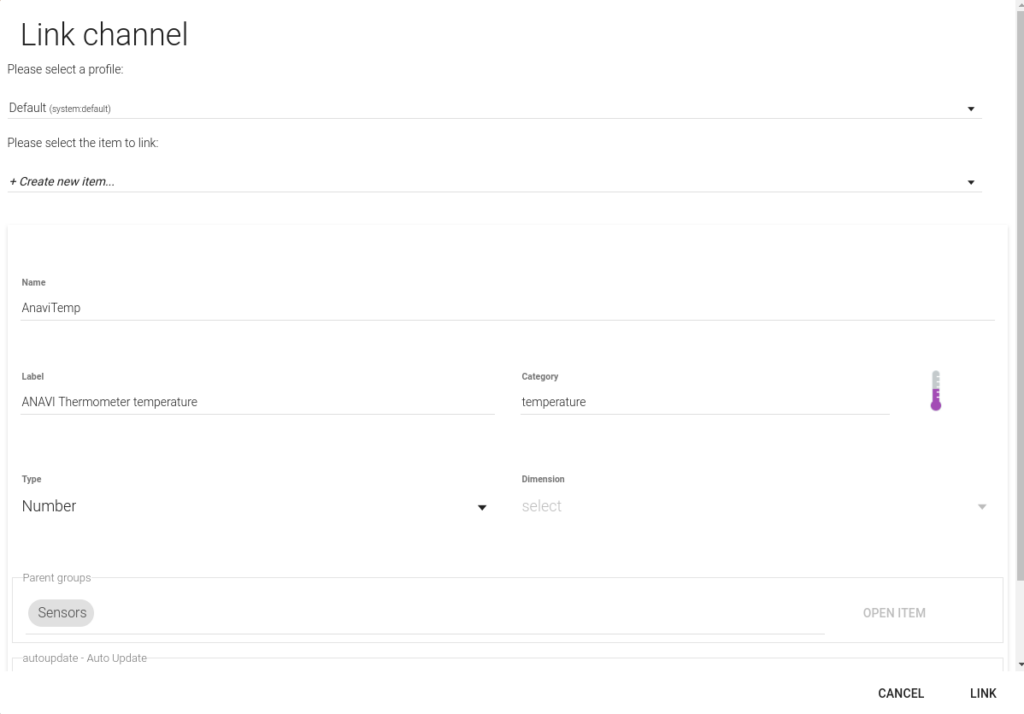
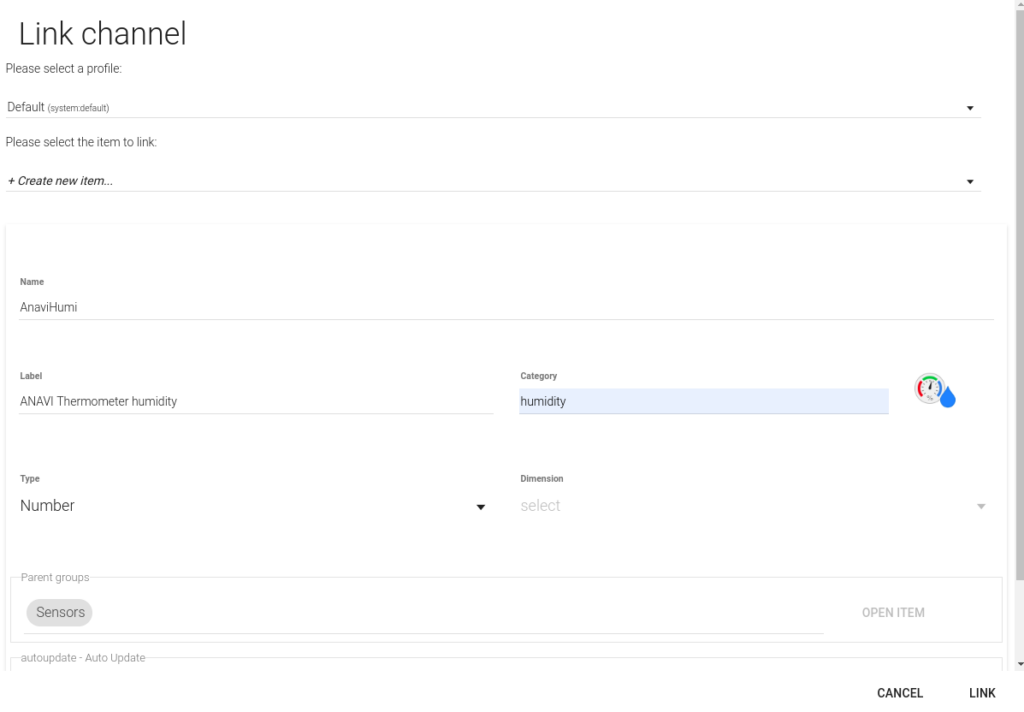
Then we create appropriate channels for ANAVI Thermometer’s temperature and humidity. They will probably be pushed to workgroup/<your id>/air/temperature and workgroup/<your id>/air/humidity MQTT paths. We use JSONPath for extracting actual values.
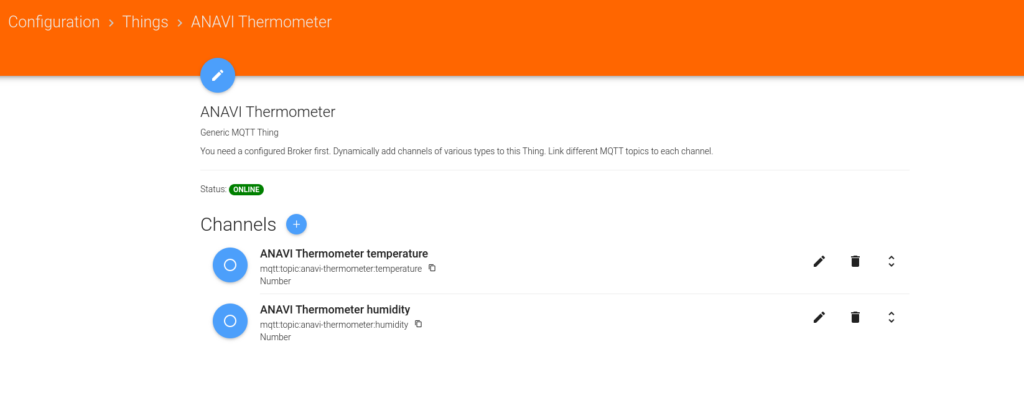
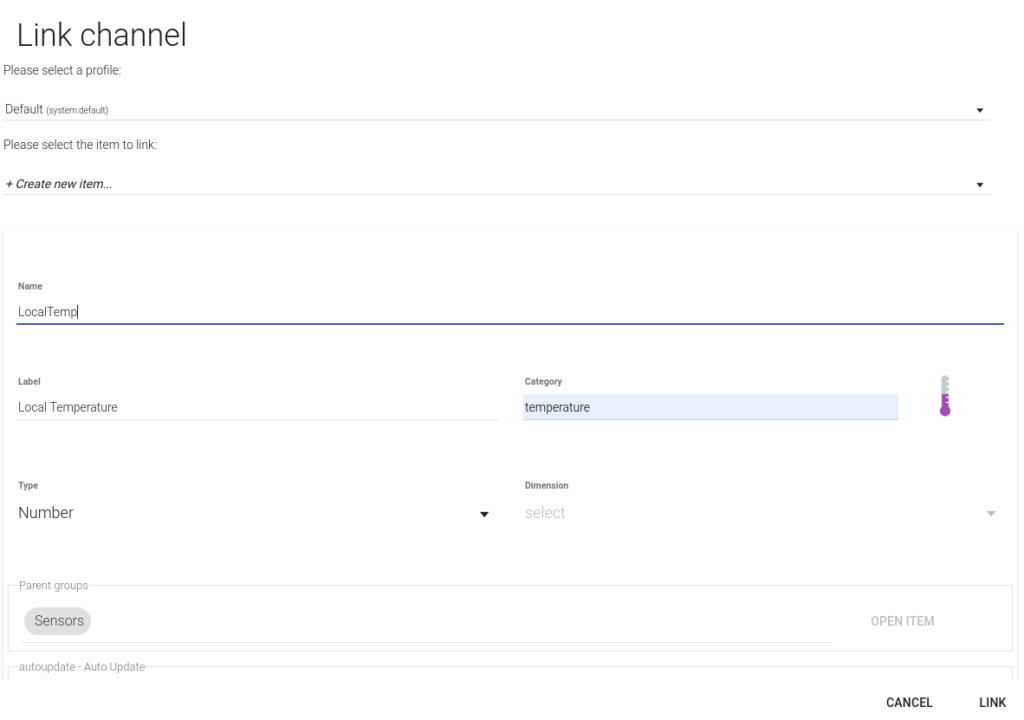
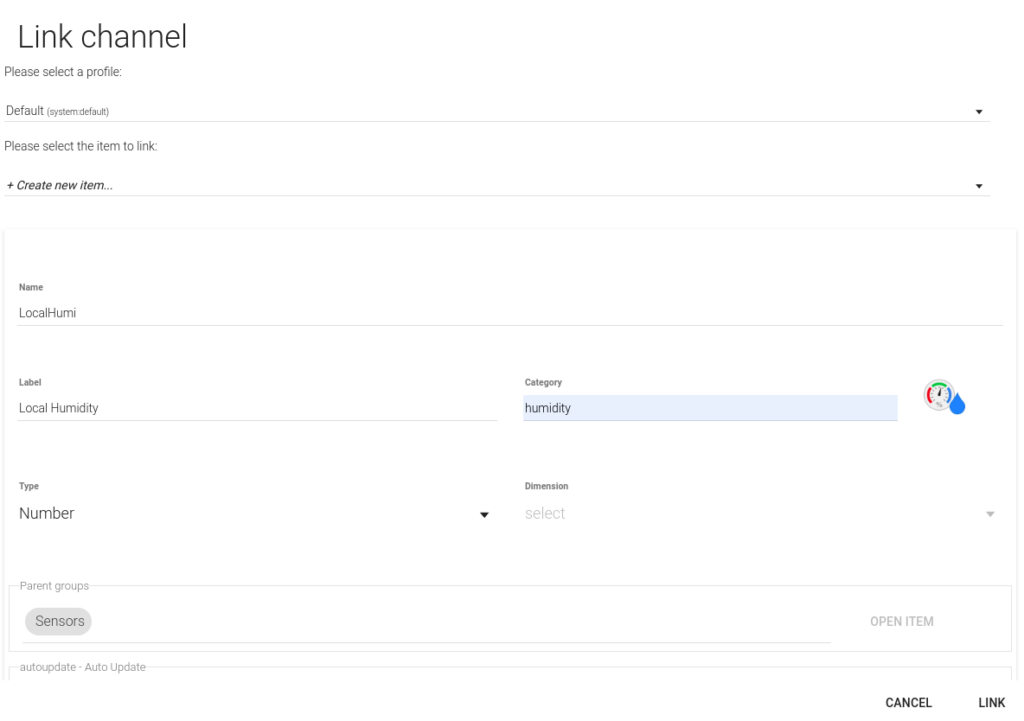
Finally, we need to link channels to their corresponding items. You can create them from the link channel, clicking at the arrows on the right
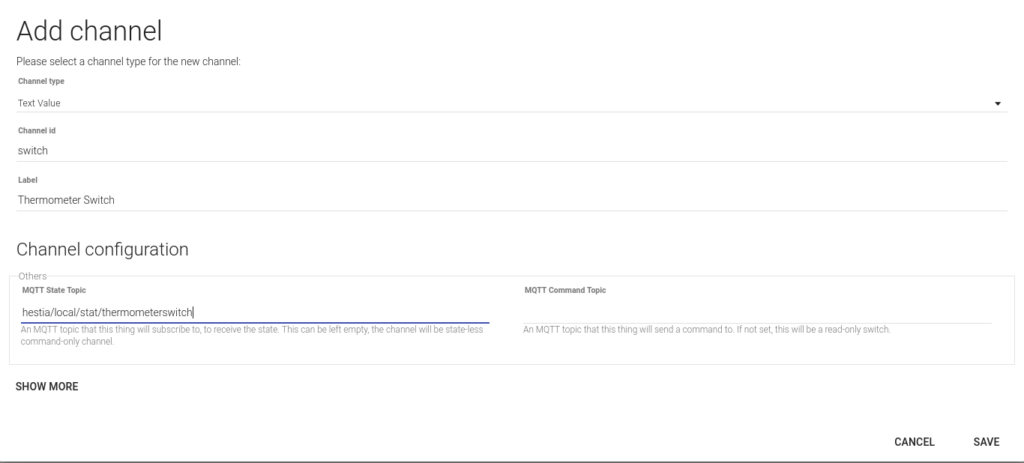
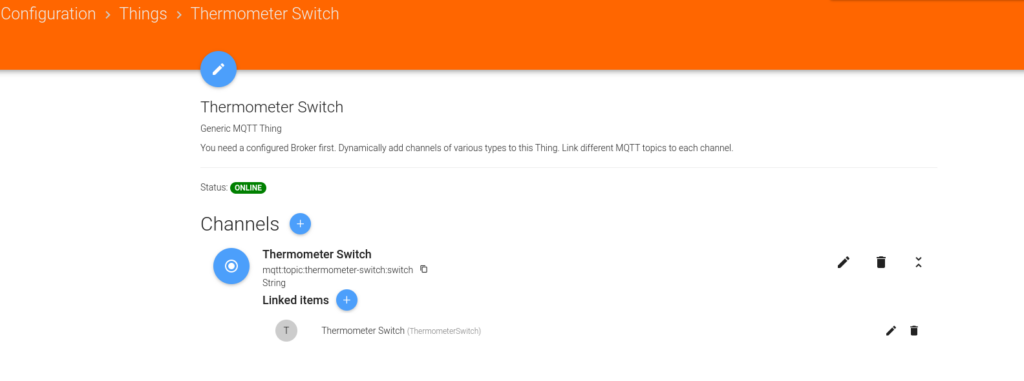
Thermometer Switch
We create an extra MQTT thing, Thermometer Switch, that will be used for selecting which temperature the thermostat is following; based on this thing, HestiaPi will act on changes of the temperature sensor from HestiaPi or the one from ANAVI Thermometer
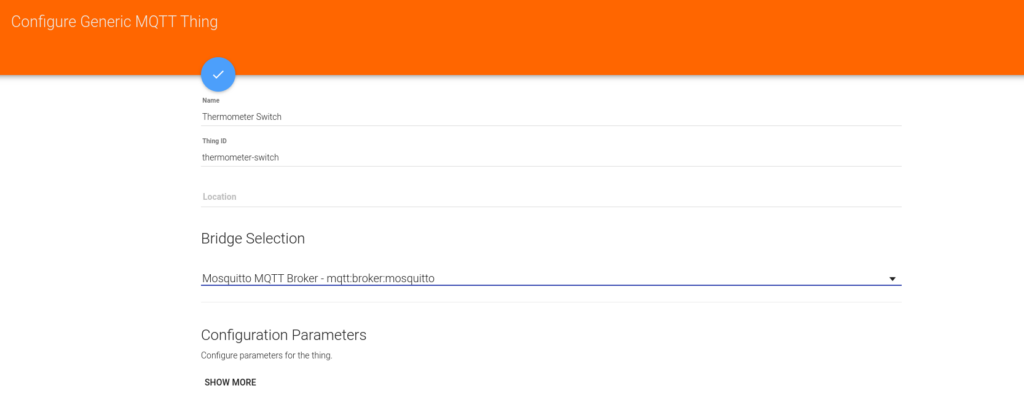
We need to create a new channel for this new thing. We will be reading its state from hestia/local/stat/thermometerswitch MQTT topic
And finally, we create an item for this channel
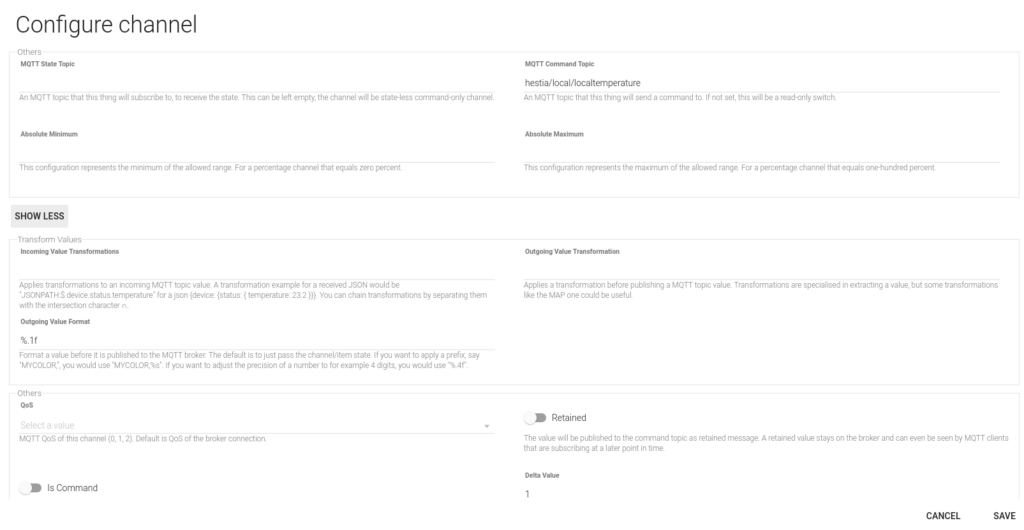
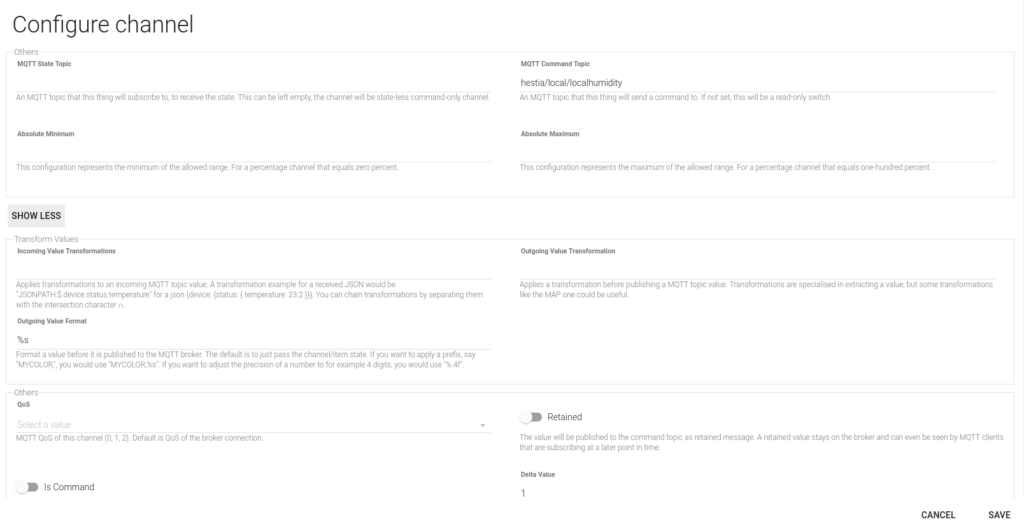
Hestia Local Sensor Readings
A side effect of the Process Sensor Changes rule modification below is that the original MQTT channels used by HestiaPi to publish local sensor readings hestia/local/temperature and hestia/local/humidity will now publish ANAVI’s readings when Thermometer Switch has Anavi value. We will need to add two extra MQTT things and items to keep those local sensor readings. Former channels become current values the thermostat is considering for taking the decisions about turning on or off.
We add LocalTemp and LocalHumi MQTT channels pointing to hestia/local/localtemperature and hestia/local/localhumidity
And we link these things to their corresponding items LocalTemp and LocalHumi
Rules
Initialization rule
We will need to add the initial value for Thermometer Switch, that will default to HestiaPi’s value My. This value is not very descriptive, but will match HestiaPi’s item names and will make things easier in the rules below.
initState("ThermometerSwitch", "My");
Process Sensor Changes rule
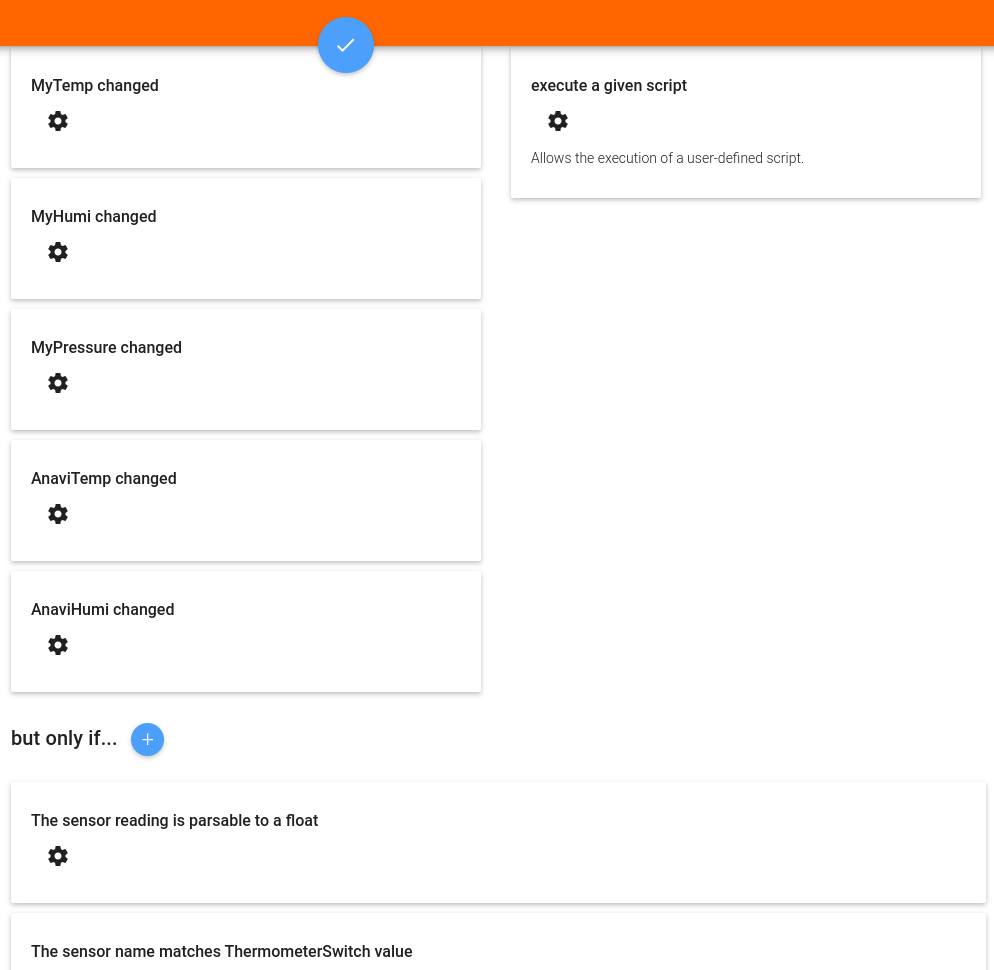
Process Sensor Changes is the rule that updates temperature, humidity and pressure proxies. It also decides whether to update temperature based on hysteresis changes.
We add two new triggers so the rule is ran also whether AnaviTemp or AnaviHumi change

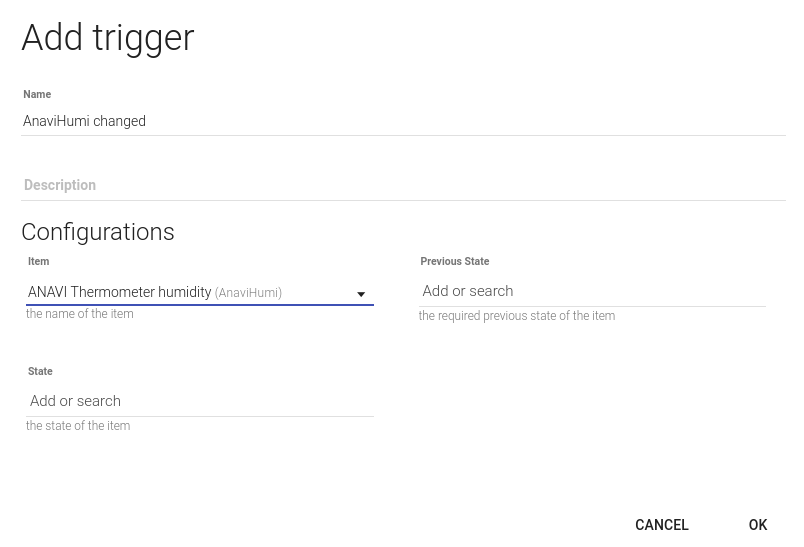
However, we need an extra condition: we set the constraint that the sensor that changed has to match the value of ThermometerSwitch, that is, only update values from HestiaPi’s sensor when My is selected in ThermometerSwitch, and only update values from ANAVI’s sensors when Anavi is selected
event.itemName.indexOf(items["ThermometerSwitch"]) == 0 || event.itemName == "MyPressure"
Finally, we slightly modify the rule to get the value from the relevant sensor, that can have My or Anavi prefix now
var OPENHAB_CONF = Java.type('java.lang.System').getenv('OPENHAB_CONF');
load(OPENHAB_CONF + '/automation/lib/hestia/utils.js');
load(OPENHAB_CONF + '/automation/lib/hestia/defaults.js');

var device;
var logName = "sensor";

logDebug(logName, "Changed "+event.itemName);

if (event.itemName == 'MyPressure') {
  device = 'Pressure'
} else {
  device = event.itemName.replace(items["ThermometerSwitch"], "");
}

// Update the proxy
events.sendCommand("My"+device+"Proxy", newState);

// Verifying the newState can be parsed is already checked in the but only if…
var newReading = parseFloat(newState.toString());

var prev = items["Previous"+device+"Reading"].floatValue();
if(prev == NaN) prev = 0;

var hyst = (device == "Temp") ? DEFAULTS.get("Temp"+items["TempUnit"]+"_DIFF") : DEFAULTS.get(device+"_DIFF");

logDebug(logName, "Processing " + device + " with value " + newState + " and prevState " + prev + " and delta " + delta);

var delta = Math.abs(newReading - prev);
if(delta > hyst) {
  logDebug(logName, "Updating Previous"+device+"Reading with " + newState);
  events.postUpdate("Previous"+device+"Reading", newState);
}
else {
  logDebug(logName, "Ignoring " + device + " sensor reading, change is too small");
}
Process Local Sensor Changes rule
Finally, we add an extra rule to publish HestiaPi’s sensor values to the extra MQTT things LocalTemp and LocalHumi that we created before
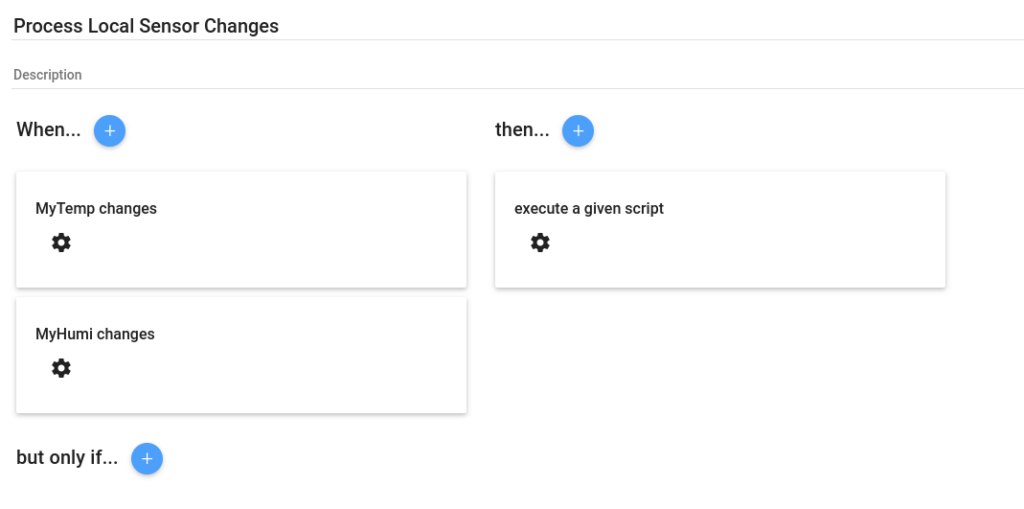
They will be triggered when MyTemp or MyHumi change
var OPENHAB_CONF = Java.type('java.lang.System').getenv('OPENHAB_CONF');
load(OPENHAB_CONF + '/automation/lib/hestia/utils.js');
load(OPENHAB_CONF + '/automation/lib/hestia/defaults.js');

var logName = "localsensor";

logDebug(logName, "Changed "+event.itemName);

var device = event.itemName.replace("My", "");

// Update the proxy
events.sendCommand("Local"+device, newState);