Open source software and hardware is often hard. Contrary to proprietary and closed solutions like Apple’s, open / free alternatives are often not polished. They usually take you lots of work to make them usable.
However, they give you all the power. You can do anything you want with them… Like turning a thermostat into a roller shutter user interface.
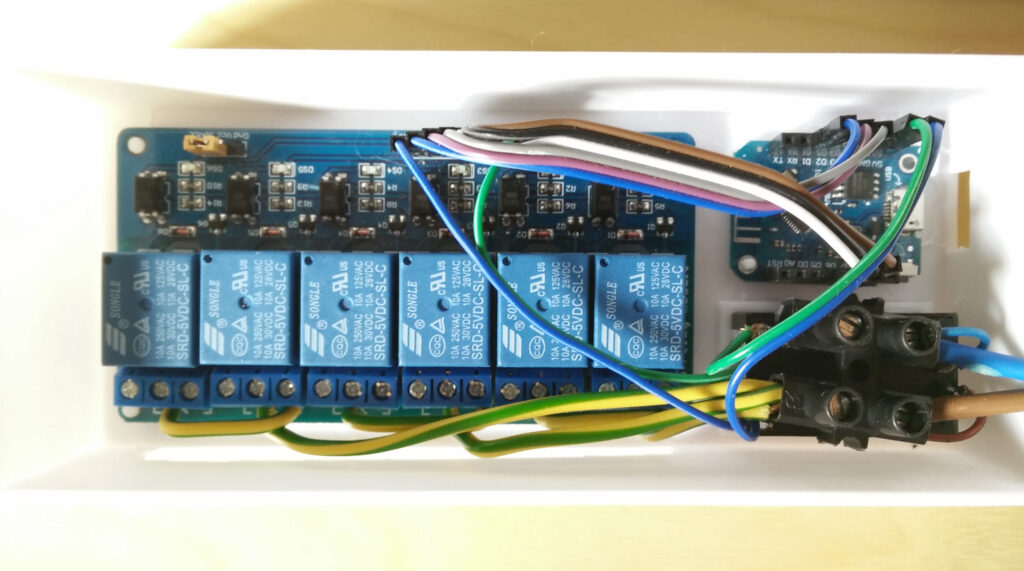
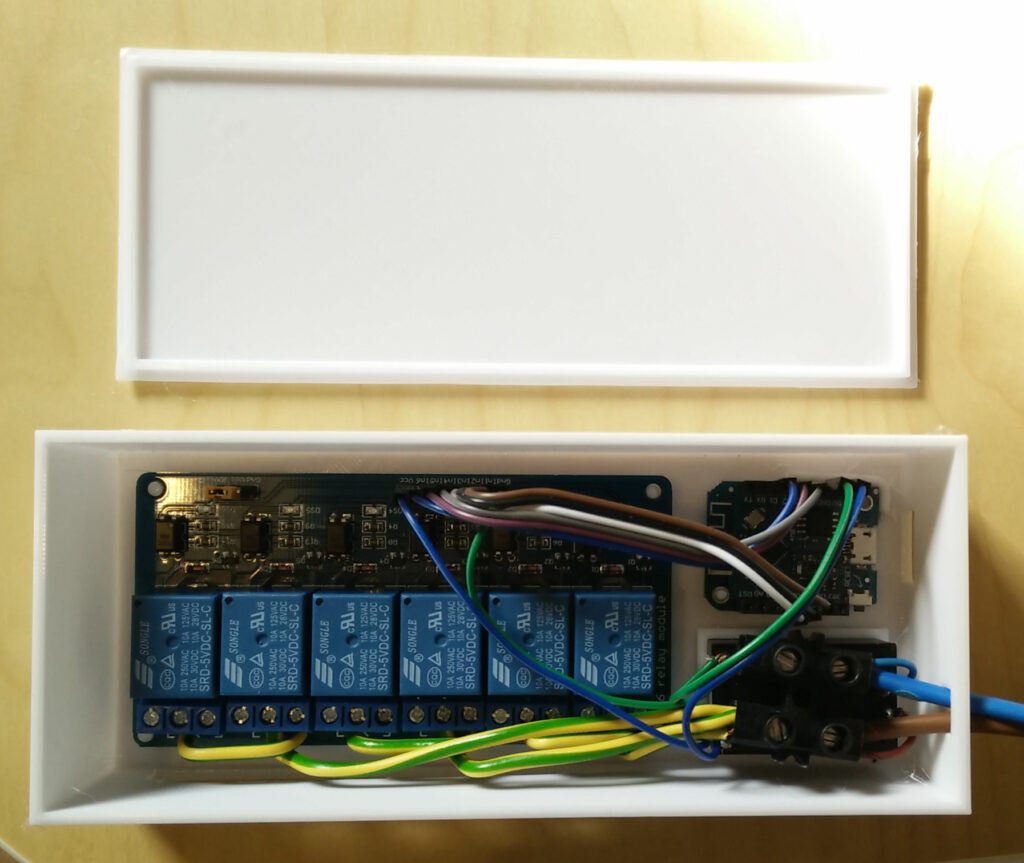
When I was thinking about automating my roller shutters, I didn’t know how to start. Luckily, I found a post from Recretonica where it was explained how to build a DIY roller shutter controller from scratch. I reproduced it easily with a Wemos D1 mini, a 6 channel relay and a HLK-PM01 AC to 5V transformer. No more electronics were needed.

An Arduino sketch controls the roller shutters position using MQTT. It subscribes to the corresponding MQTT topics, and commands the relay for the seconds that the roller shutter expends to move to the new position. You can find the sketch in my roller shutter repository.
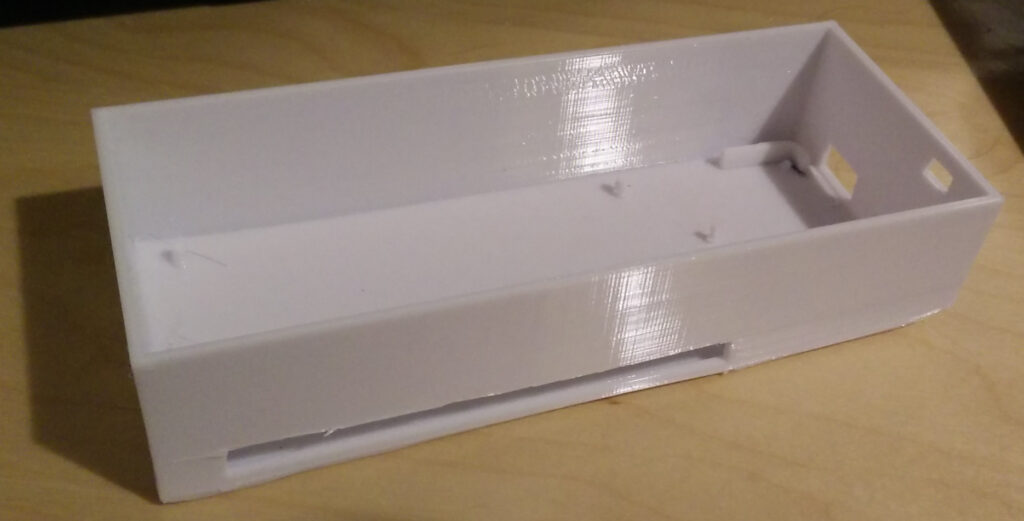
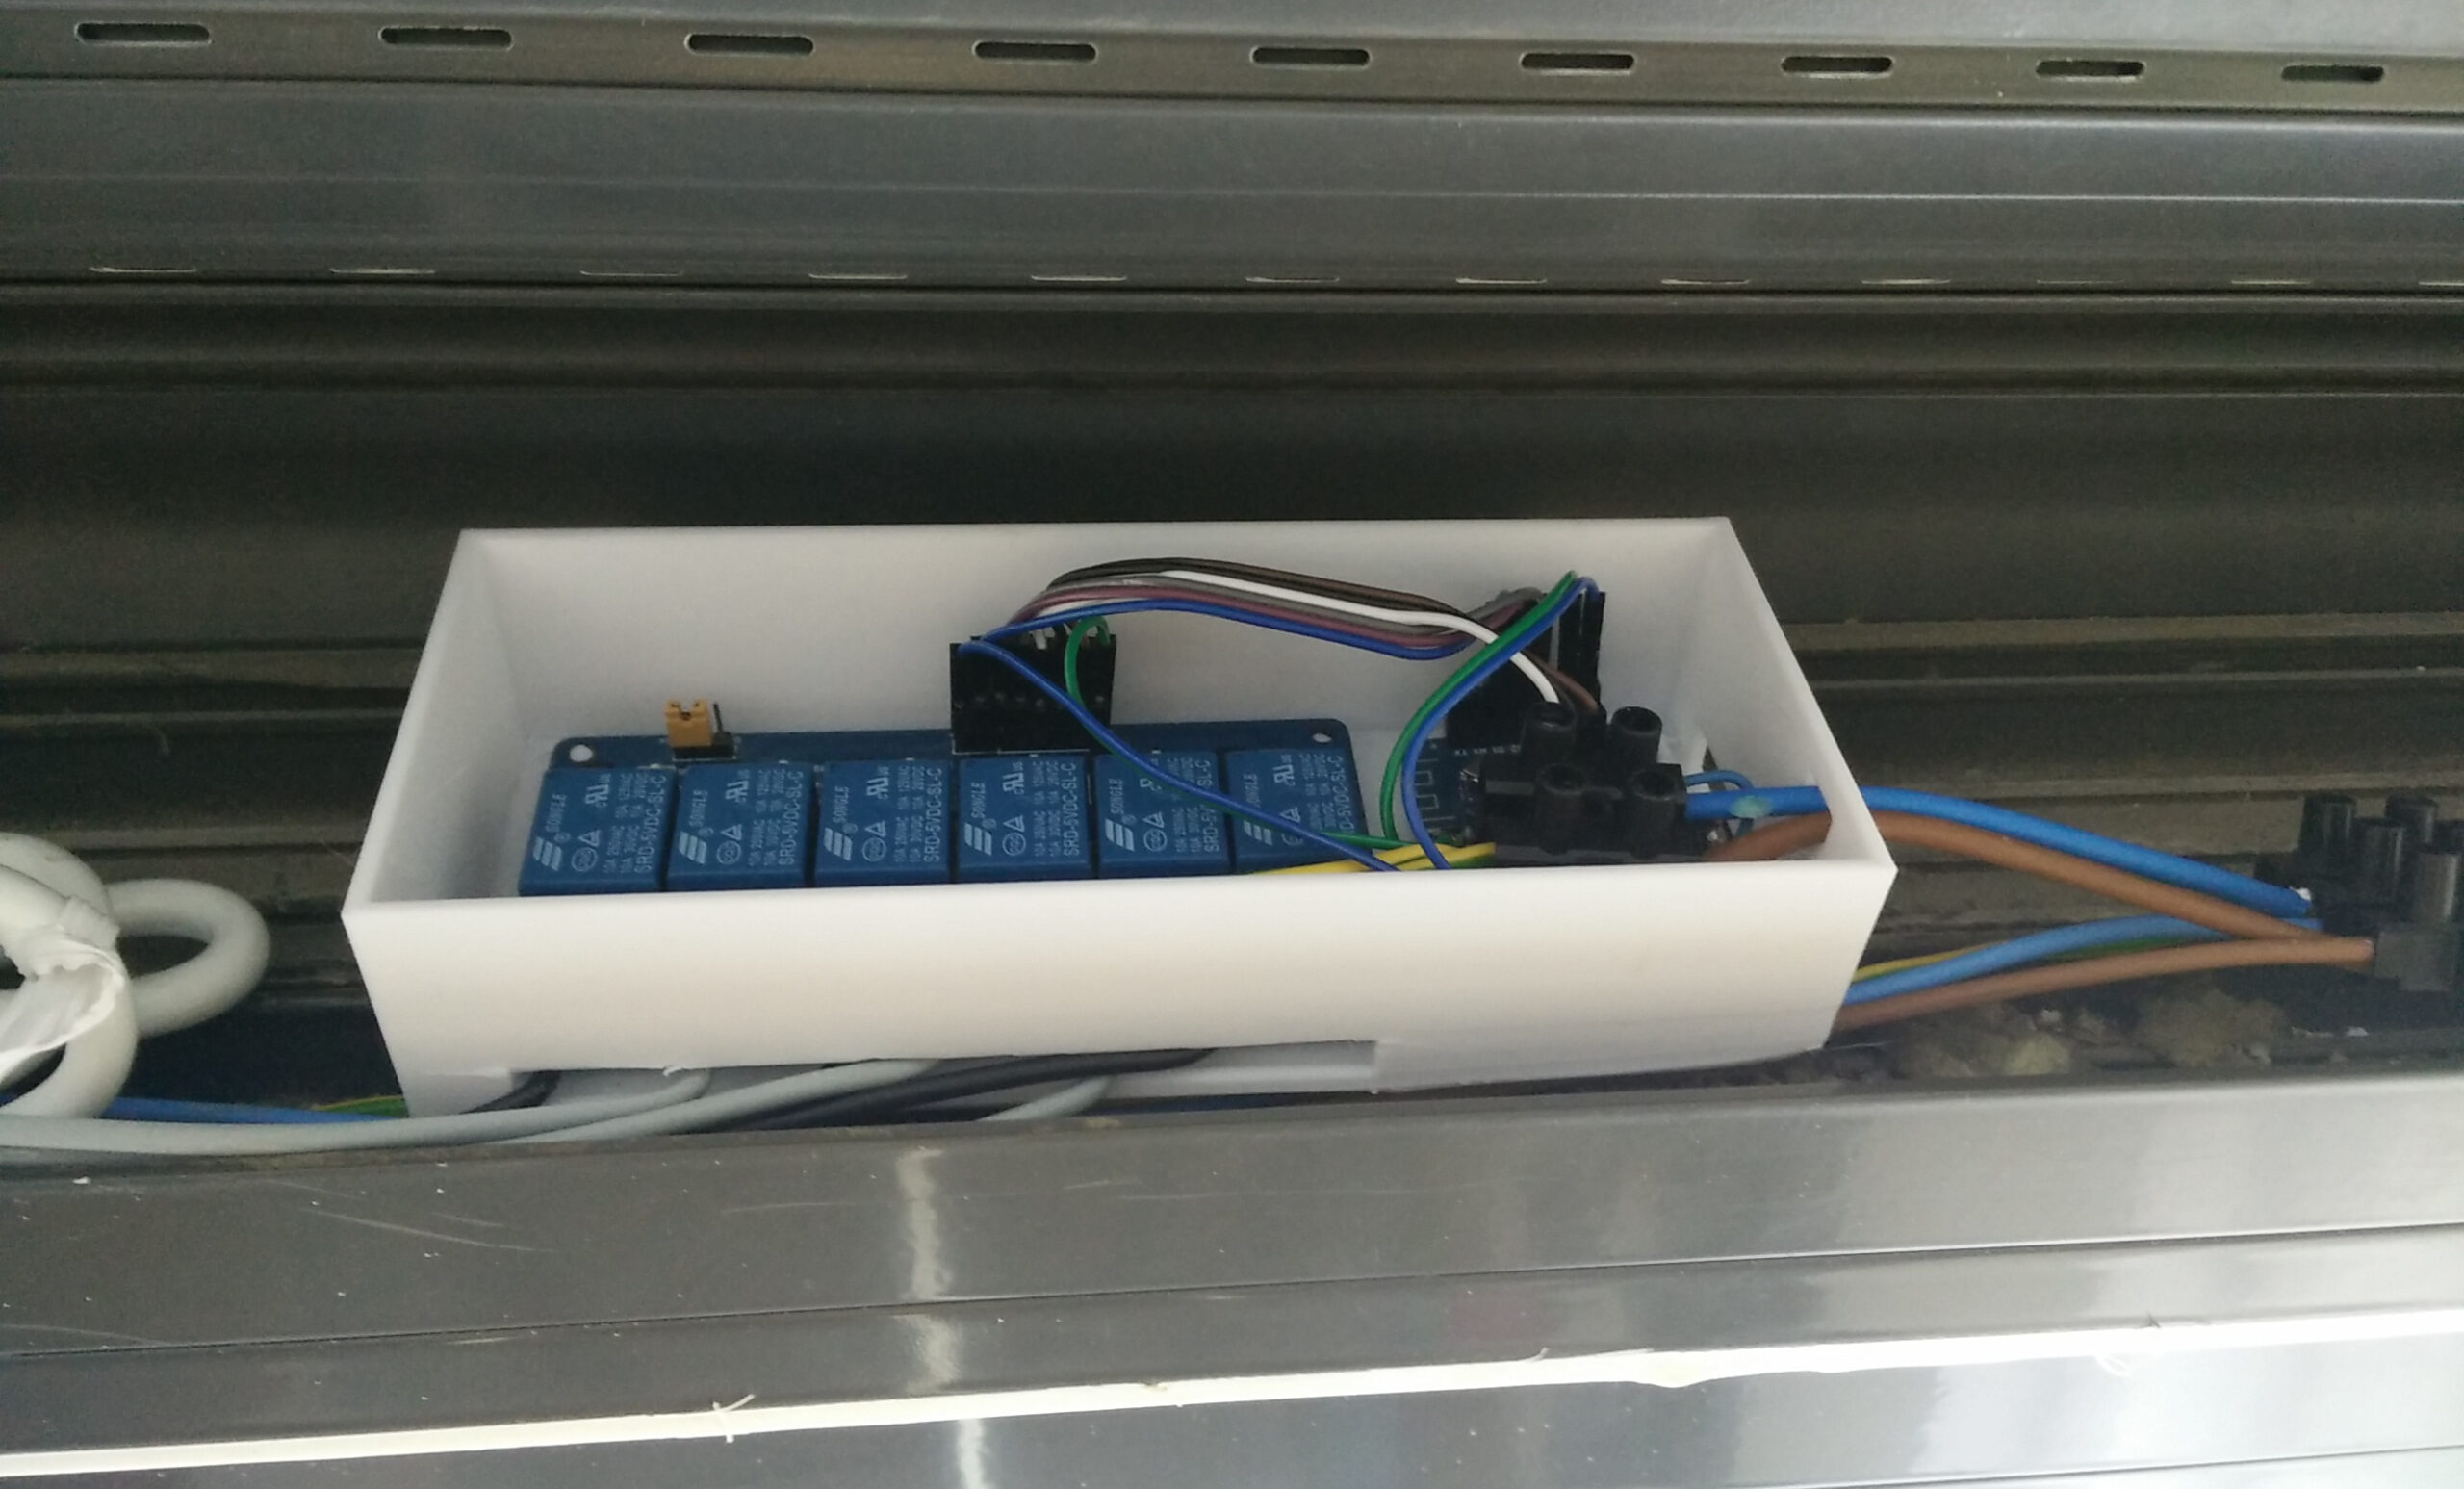
I also designed a 3D printed case for the electronics, so they got isolated inside the roller shutter box, away from any humidity bough by the shutter.

This was my first 3D design, so it was not easy. I was happy to start learning Blender. But the reality is that there is some distance from what you design, how it gets printed, and how it works. I had to make some tests and prototypes, and still, I had to cut back and adapt the final print. You can find the 3D case in my Thingiverse account.

Finally, I was wondering how to arrange the switch for 3 roller shutters at once. I envisioned the thermostat as the perfect place to control the roller shutters: it is placed in the same room, it is tactile, so you can control the positions with one gesture. So I modified the my thermostat‘s software so we could control the 3 roller shutters in their own screen, at once. You can find the modifications in the roller-shutter branch of my fork of hestia-touch-one-ui repository.

Watch this video to see how well it works!
